
In today’s digital world, video conferencing has become an essential tool for professionals. Whether it’s for remote meetings, virtual presentations, or online collaborations, the ability to present yourself clearly and professionally on camera is paramount.
One of the most critical, yet often overlooked, aspects of a successful video conference is proper lighting. Good lighting can significantly enhance your appearance, making you look more polished and engaged, while poor lighting can cast unflattering shadows and make you appear tired or unprofessional.
This article will explore the importance of lighting for video conferencing and provide practical tips and techniques for achieving optimal illumination in your home office setup. From understanding key lighting principles to setting up a three-point lighting system, we’ll cover everything you need to know to look your best on every video call.
The Importance of Good Lighting for Video Calls
First impressions matter, especially in professional settings. When you’re on a video call, your face is the focal point, and the way it’s lit can heavily influence how you’re perceived.
Good lighting can enhance your features, reduce shadows, and create a more flattering and engaging image. Poor lighting, on the other hand, can make you look tired, washed out, or even unprofessional.
Beyond aesthetics, good lighting also plays a crucial role in communication. Clear and consistent lighting ensures that your facial expressions are easily visible, allowing you to convey emotions and engage with your audience more effectively.
This is particularly important in situations where you need to build rapport or establish trust, such as during job interviews or client presentations. Investing in proper lighting for video conferencing is an investment in your professional image and communication skills.
Think about the last time you were on a video call with someone who had terrible lighting. It’s difficult to focus on what they’re saying when you’re distracted by the shadows and poor visibility.
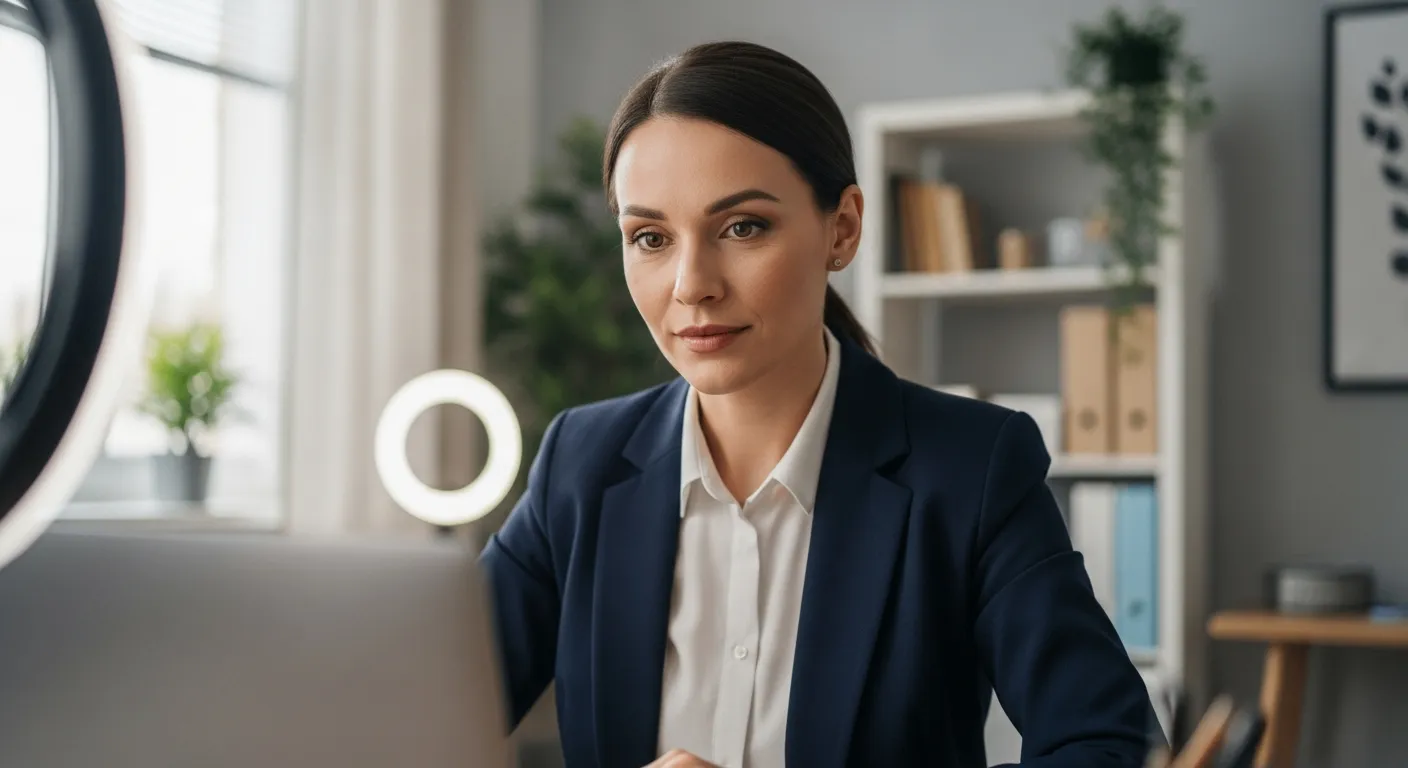
Conversely, when someone has great lighting, you’re more likely to perceive them as confident, competent, and trustworthy. Good lighting helps you connect with your audience and build stronger relationships.
Moreover, proper lighting can reduce eye strain for both you and your viewers. When your face is well-lit, your camera doesn’t have to work as hard to compensate for the lack of light, resulting in a clearer and more comfortable viewing experience.
This is especially important for longer video calls or presentations, where eye strain can lead to fatigue and decreased engagement. Consider the overall impact of lighting on your professional brand and communication effectiveness.
It’s a simple change that can yield significant results in how you are perceived and how effectively you communicate. Don’t underestimate the power of good lighting to elevate your video conferencing presence.
By prioritizing proper illumination, you demonstrate attention to detail and a commitment to presenting yourself in the best possible light, both literally and figuratively. This can make a difference in your career.
Understanding Key Lighting Principles
Before diving into specific lighting setups, it’s essential to understand some fundamental lighting principles. These principles will help you make informed decisions about the type of lighting you need and how to position it for the best results.
One of the most important concepts is the direction of light. Light that comes from above can create harsh shadows under your eyes and chin, while light that comes from below can create an unnatural and unflattering look.
Ideally, you want light that is positioned at or slightly above eye level to create a soft, even illumination. Another key principle is the color temperature of light.
Color temperature refers to the warmth or coolness of light, measured in Kelvin (K). For video conferencing, a color temperature of around 5000K, which is similar to natural daylight, is generally recommended, providing a balanced and natural-looking light.
Another important principle is the intensity of light. Too much light can wash you out and make you look overexposed, while too little light can make you look dark and shadowy.
The ideal intensity will depend on your skin tone, the color of your clothing, and the ambient lighting in your room. Experiment with different light intensities until you find a setting that provides a balanced and flattering illumination.
Diffusion is another key concept to consider. Diffused light is soft and even, minimizing harsh shadows and creating a more flattering look. You can diffuse light by using a softbox, a lampshade, or even a piece of white paper.
Direct light, on the other hand, is harsh and creates strong shadows. Avoid using direct light for video conferencing, as it can be unflattering and distracting.
Understanding these basic lighting principles will empower you to make informed decisions about your video conferencing setup. You’ll be able to troubleshoot lighting problems and create a more professional and polished look.
Take the time to experiment with different lighting positions, intensities, and diffusion techniques to find what works best for you and your environment. The effort is well worth the improved image quality and enhanced communication effectiveness.
Setting Up a Three-Point Lighting System
One of the most effective lighting setups for video conferencing is the three-point lighting system. This system uses three separate light sources to create a balanced and professional-looking illumination.
The three lights are known as the key light, the fill light, and the back light. Here’s a breakdown of each light and its role in the system.
| Light | Purpose | Position |
|---|---|---|
| Key Light | Main source of illumination | Slightly to one side of the camera, at eye level |
| Fill Light | Fills in shadows created by the key light | Opposite the key light, at a lower intensity |
| Back Light | Separates the subject from the background | Behind the subject, pointing towards the back of the head |
| Additional Notes | Color temperature should be between 5000K and 6000K | All lights should be adjustable |
The key light is the primary light source and provides the main illumination for your face. Position it slightly to one side of the camera, at or slightly above eye level.
The fill light is used to soften the shadows created by the key light. Place it on the opposite side of the camera from the key light, and reduce its intensity so that it’s not as bright as the key light.
The back light, also known as the hair light or rim light, is used to separate you from the background. Position it behind you, pointing towards the back of your head, to create a subtle halo effect that adds depth and dimension to your image.
When setting up your three-point lighting system, experiment with the position and intensity of each light until you achieve a balanced and flattering illumination. Adjust the lights until shadows are minimized and your features are well-defined.
You don’t necessarily need to purchase expensive lighting equipment to create a three-point lighting system. You can use household lamps with daylight bulbs, or even natural light from a window, to achieve a similar effect.
The key is to understand the principles of three-point lighting and to experiment with different setups until you find what works best for you and your environment. With a little practice, you can create a professional-looking video conference setup that enhances your appearance and communication skills.
Using Ring Lights for Even Illumination
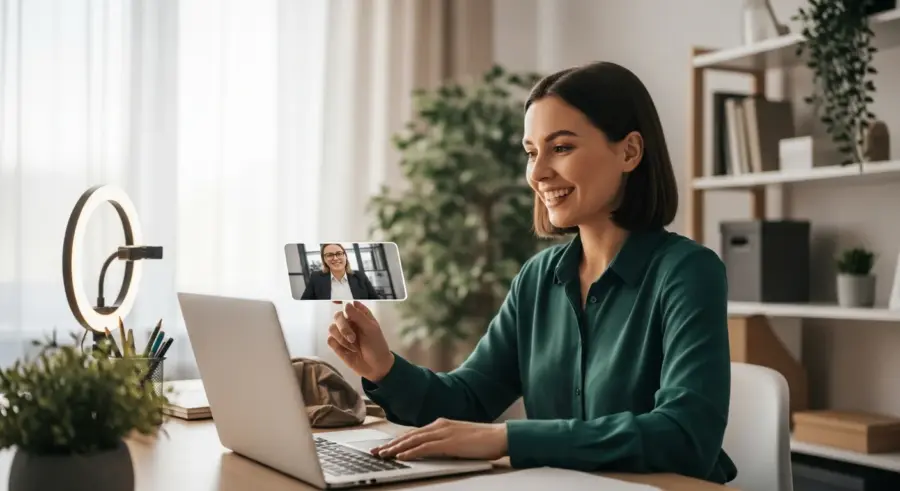
Ring lights have become increasingly popular for video conferencing due to their simplicity and effectiveness. A ring light is a circular light that surrounds the camera, providing even and diffused illumination to the face.
One of the main benefits of using a ring light is that it eliminates harsh shadows and creates a smooth, flattering look. Ring lights are also very easy to set up and use, making them a great option for those who are new to lighting for video conferencing.
When choosing a ring light, consider the size and brightness. A larger ring light will provide a wider and more diffused light, while a brighter ring light will give you more control over the intensity of the illumination.
Many ring lights also come with adjustable color temperature settings, allowing you to fine-tune the warmth or coolness of the light to match your skin tone and the ambient lighting in your room. Position the ring light directly in front of you, with the camera lens in the center of the ring.
Ensure the ring light is at eye level or slightly above for the most flattering results. Avoid placing it too low, as this can cast unflattering shadows upwards.
Experiment with the brightness settings to find the optimal level for your environment. Too bright, and you’ll be washed out; too dim, and it won’t make a noticeable difference.
Consider the size of the ring light in relation to your face. A larger ring light will generally provide more even illumination, especially if you wear glasses.
Some ring lights come with stands or clips, making them easy to attach to your monitor or desk. This can be a convenient option if you have limited space.
While ring lights are effective at providing even illumination, they can sometimes create a “halo” effect in your eyes. This is generally not distracting, but it’s something to be aware of.
Softbox Lighting for a Professional Look
For a more professional and polished look, consider using softbox lighting for your video conferences. A softbox is a type of light modifier that diffuses light, creating a soft, even illumination that minimizes harsh shadows.
Softboxes are typically used in photography and videography to create a flattering and natural-looking light, and they can be equally effective for video conferencing. Unlike ring lights, which provide a direct and somewhat flat light, softboxes create a more three-dimensional and nuanced illumination.
When setting up softbox lighting, position one or two softboxes in front of you, slightly to the side of the camera. This will create a key light and fill light effect, similar to the three-point lighting system, but with a softer and more diffused light.
Adjust the position and angle of the softboxes until you achieve a balanced and flattering illumination that minimizes shadows and enhances your features. Softbox lighting is a great option for those who want to create a professional and polished look for their video conferences.
Softboxes come in various shapes and sizes, so choose one that fits your space and budget. Rectangular softboxes are a popular choice for video conferencing, as they provide a wide and even light source.
When setting up your softboxes, make sure they are positioned at a comfortable distance from your face. You don’t want them to be too close, as this can be uncomfortable and create harsh shadows.
Experiment with the height and angle of the softboxes to find the most flattering position. Generally, positioning them slightly above eye level will create a more natural and flattering look.
Consider using two softboxes to create a key light and fill light effect. This will provide more balanced and even illumination than using a single softbox.
Softbox lighting can be a bit more expensive and require more setup than ring lights, but the results are often worth the investment. If you’re serious about creating a professional and polished look for your video conferences, softbox lighting is a great option.
Optimizing Natural Light for Video Conferencing
While artificial lighting can be a great tool for video conferencing, natural light is often the most flattering and natural-looking option. If you have access to a window with good natural light, you can use it to your advantage to create a well-lit and professional-looking video conference setup.
However, it’s important to optimize natural light to avoid common issues like harsh shadows or uneven illumination. Here’s how you can make the most of natural light for video conferencing.
- Position yourself facing the window
- Avoid direct sunlight
- Use a sheer curtain to diffuse light
- Adjust your monitor brightness
- Use a reflector to fill in shadows
Facing the window allows the natural light to illuminate your face evenly. Avoid sitting with your back to the window, as this will create a silhouette effect.
Direct sunlight can be harsh and create unflattering shadows. If possible, choose a time of day when the sunlight is less intense, or use a sheer curtain to diffuse the light.
A sheer curtain will soften the natural light and create a more flattering illumination. This is especially important if you are using natural light as your primary light source.
Adjust your monitor brightness to match the ambient lighting in your room. If your monitor is too bright, it can create a distracting glare; if it’s too dim, it can make your face appear dark.
A reflector can be used to bounce light back onto your face, filling in shadows and creating a more even illumination. A simple white foam board can be used as a reflector.
Be aware that natural light can change throughout the day. You may need to adjust your position or lighting setup as the sun moves.
Adjusting White Balance and Exposure Settings
After setting up your lighting, it’s important to adjust your camera’s white balance and exposure settings for optimal image quality. White balance refers to the color accuracy of your camera, ensuring that white objects appear white and colors are rendered accurately.
Exposure refers to the brightness of your image, ensuring that it’s neither too dark nor too bright. Most webcams and video conferencing software have automatic white balance and exposure settings, but these settings may not always be accurate, especially in challenging lighting conditions.
To manually adjust white balance, look for a setting labeled “white balance” or “color temperature” in your camera or software settings. Experiment with different settings until you achieve a natural-looking color balance that accurately reflects your skin tone and the colors in your environment.
To manually adjust exposure, look for a setting labeled “exposure” or “brightness” in your camera or software settings. Increase or decrease the exposure until you achieve a balanced image that is neither too dark nor too bright, ensuring that your face is clearly visible and well-lit.
If your camera has an automatic white balance setting, try disabling it and manually adjusting the color temperature. This can often result in a more accurate and natural-looking image.
Pay attention to the colors in your environment when adjusting white balance. If you notice that colors are appearing too warm (yellowish) or too cool (bluish), adjust the white balance accordingly.
When adjusting exposure, pay attention to the highlights and shadows in your image. You want to make sure that the highlights are not blown out (too bright) and that the shadows are not crushed (too dark).
Most video conferencing software allows you to adjust these settings directly within the application. Take some time to explore the settings and experiment with different options.
Properly adjusting white balance and exposure can significantly improve the quality of your video conference image. It’s worth taking the time to learn how to use these settings effectively.
Dealing with Common Lighting Challenges
Even with the best lighting setup, you may still encounter common lighting challenges during video conferences. These challenges can include backlighting, uneven lighting, and distracting shadows.
Here are some tips for dealing with these common lighting challenges. Backlighting occurs when the light source is behind you, causing your face to appear dark and silhouetted.
To address backlighting, move your light source to the front of you, or use a fill light to brighten your face. Uneven lighting occurs when one side of your face is brighter than the other, creating a distracting and unprofessional look.
To address uneven lighting, adjust the position and angle of your lights to create a more balanced illumination. Distracting shadows can be caused by harsh overhead lighting or objects in your environment.
To minimize distracting shadows, use diffused lighting and remove any objects that are casting unwanted shadows. If you wear glasses, you may experience glare or reflections from your lighting.
To reduce glare, try tilting your glasses slightly or adjusting the position of your lights. You can also try using an anti-glare coating on your glasses.
If you are video conferencing in a room with multiple light sources, make sure that the color temperatures of the lights are consistent. Mixing different color temperatures can create an unnatural and unflattering look.
If you are unable to control the lighting in your environment, try to position yourself in a way that minimizes the impact of the challenging lighting conditions. Sometimes a simple change in position can make a big difference.
Don’t be afraid to experiment with different lighting setups and camera settings to find what works best for you in different situations. The key is to be aware of the common lighting challenges and to have a few tricks up your sleeve for addressing them.
The Impact of Background Lighting
While focusing on lighting your face is crucial, don’t overlook the impact of background lighting. A well-lit background can add depth and dimension to your video conference setup, while a poorly lit background can be distracting and unprofessional.
Aim for a background that is evenly lit and free of distracting shadows or bright spots. Consider adding a lamp or two to illuminate your background, creating a warm and inviting atmosphere.
Avoid placing your camera in front of a window, as this can cause backlighting and make your face appear dark. Instead, position your camera in front of a wall or a bookcase, and use lamps to illuminate the background behind you.
Experiment with different background lighting options until you achieve a balanced and professional-looking setup that enhances your overall appearance on video conferences. The goal is to create a visually appealing and non-distracting backdrop that complements your face.
A dark or cluttered background can draw attention away from you, the speaker. A well-lit and organized background helps to keep the focus on you and your message.
Consider using a soft, diffused light source to illuminate your background. This will create a more even and flattering illumination than a harsh, direct light source.
If you have a bookcase in your background, consider adding some decorative items to add visual interest. Just make sure that the items are not too distracting or cluttered.
A simple, neutral-colored wall can also make a great background. This will help to keep the focus on you and your message.
Pay attention to the color temperature of your background lighting. You want to make sure that it is consistent with the color temperature of your facial lighting. A consistent color temperature will create a more harmonious and professional-looking image.
Investing in Quality Lighting Equipment
While it’s possible to improve your video conferencing lighting with simple household lamps and natural light, investing in quality lighting equipment can make a significant difference. Quality lighting equipment is designed specifically for video and photography, providing consistent and accurate illumination that enhances your appearance on camera.
Consider investing in a ring light, a softbox lighting kit, or a set of LED panel lights to create a professional and polished look for your video conferences. Look for lighting equipment that offers adjustable brightness and color temperature settings, allowing you to fine-tune the illumination to match your skin tone and the ambient lighting in your room.
Read reviews and compare different options before making a purchase, and choose lighting equipment that fits your budget and your specific needs. Investing in quality lighting equipment is an investment in your professional image and communication skills, and it can help you look your best on every video call.
Remember, good lighting is an essential component of effective video communication in the modern workplace. It demonstrates that you take your virtual presence seriously.
When selecting lighting equipment, consider the size of your workspace and the type of video conferences you typically conduct. A small ring light might be sufficient for individual calls, while a larger softbox kit may be more appropriate for presentations or group meetings.
Look for lighting equipment that is easy to set up and use. You don’t want to spend a lot of time fiddling with complicated equipment before each video conference.
Consider the portability of the lighting equipment. If you travel frequently, you may want to choose a lightweight and compact option that is easy to transport.
Don’t be afraid to start small and upgrade your lighting equipment as your needs evolve. You can always add more lights or accessories later on.
Investing in quality lighting equipment is a long-term investment in your professional success. It’s a small price to pay for the benefits of looking your best on every video call.
Conclusion
In conclusion, mastering lighting for video conferencing is essential for presenting yourself professionally and effectively in today’s digital world. By understanding key lighting principles, setting up a three-point lighting system, optimizing natural light, and adjusting your camera settings, you can create a well-lit and flattering video conference setup that enhances your appearance and communication skills.
Whether you’re using a simple ring light or a more advanced softbox lighting kit, the key is to experiment and find what works best for you. Don’t be afraid to try different lighting setups and adjust your settings until you achieve a look that you’re happy with.
With the right lighting, you can project confidence, engage your audience, and make a lasting impression on every video call. So, take the time to invest in your lighting setup, and watch your video conferencing skills shine.
Good lighting is an investment in your career and personal brand. Start improving your lighting for video conferencing today.
Remember that lighting is just one aspect of effective video conferencing. Other important factors include your camera quality, audio quality, and background environment.
By paying attention to all of these factors, you can create a professional and engaging video conferencing experience that helps you to connect with your audience and achieve your goals.
Don’t be afraid to seek feedback from others on your video conferencing setup. Ask colleagues or friends to join a test call and provide feedback on your lighting, audio, and overall appearance.
Continuously strive to improve your video conferencing skills and setup. The digital landscape is constantly evolving, so it’s important to stay up-to-date on the latest trends and best practices.
By mastering the art of video conferencing, you can enhance your communication skills, build stronger relationships, and advance your career in today’s increasingly virtual world. Good luck!