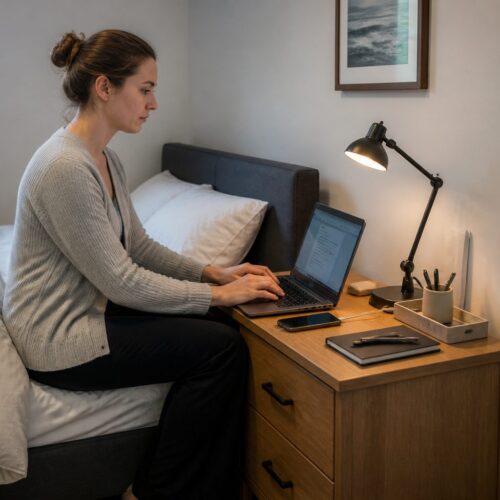
You relied on compact, wall-mounted work surfaces to free up floor space and keep rooms tidy. A simple floating desk once gave small nooks a permanent place for homework, crafts, or laptop work.
This introduction previews the core safety and comfort principles: measure carefully, attach to studs, keep the shelf level, and choose supports that match the expected load. Follow these steps and you will avoid wobble, sag, or surprise failures.
This guide matched DIYers who set up a workspace in a home or office. You will learn how layout planning, stud finding, bracket choices, and secure mounting shape daily ergonomics. Once fixed, height and reach were mostly permanent, so good choices mattered.
Key benefit: a well-mounted surface supports focused work and keeps the room feeling lighter. In small or multipurpose rooms, that visual clarity made a big difference.
Why a Floating Desk Works in a Modern Home Office
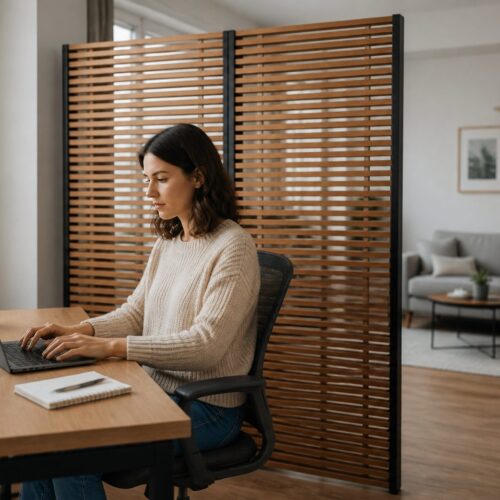
In tight rooms, a mounted work surface turns wasted wall space into a usable place. You gain clear floor area for movement, extra storage, or shared use without adding bulk.

Space and visual benefits
Open floor space makes a room feel larger and lighter. When the floor stays visible under your desk, the entire area reads as more breathable and orderly.
Practical clutter control
Keep supplies on a nearby shelf or in a shallow bin to reduce desktop clutter. A tidy surface supports real work and school routines without sacrificing reachability.
Where to place one
- Dedicated home office wall or bedroom niche for quiet focus
- Under-stair or basement landing nook used for kids’ homework
- Kitchen/dining transition zone as a family command center
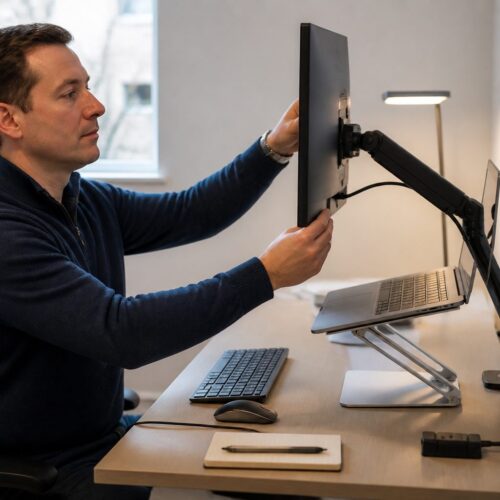
Design and tech notes
Plan cord management early: add a hole at the back and place power under the shelf to hide cables. Match wood tone and choose a wall color or paint that makes the surface look intentional. Good lighting—strip lights or a small pendant—keeps the area useful after dark.
Plan Your Wall-Mounted Desk: Measurements, Layout, and Comfort
Before you fasten anything, confirm that the layout supports your posture and daily workflow. Walk the area with a tape measure and note baseboards, trim, corners that aren’t square, and traffic paths so the final desk fits reality, not a drawing.

Choose a desktop depth that fits your tasks. Desks under about 50 cm (20″) can feel cramped if you use a monitor and keyboard or a laptop plus notebook. Match depth to real gear, not an idealized plan.
Confirm width and leg clearance. Make sure the width supports your workflow and that a chair slides in without hitting the wall or support pieces. Check the length across studs and where supports land at the ends and sides.
Pick a height you can live with. Most people used 65–70 cm (about 25½–27½”) as a good range. One DIY example set the top at 30″ with an 18″ chair. Decide the top-of-desk height, then subtract the desktop thickness (for example, 2″) to mark where brackets or a ledger will sit on the wall.
- Plan the back edge and cord routing before cutting material; decide where bottom-side fasteners and a pass-through will go.
- Choose materials — solid boards or plywood — because thickness and stiffness change measurements and how you mark the wall line.
Floating desk installation: Find Studs and Mark a Level Reference Line
Start by mapping where the wall studs run so every support lands on solid framing. Use a reliable stud finder and scan the full length where the shelf will sit. Sweep slowly to avoid missed gaps.
Double-check each mark with a magnetic finder or simple physical cues like nail pops and a light knock. These extra checks reduce surprises and help you place supports where they can carry weight for years.
Measure and mark the center of each stud at your adjusted height (after subtracting the desktop thickness). Then use a level to establish a continuous reference line across the wall so small errors don’t grow over the span.
- Locate studs across the full length so every bracket meets framing.
- When you drill pilot holes, note the bit should show wood, not only drywall dust — that confirms you hit framing.
- Plan for outlets, trim, or backsplash before you commit to visible holes; make sure marks align with where bottom-side fasteners can be placed later.
Choose the Right Support Method for Safety and Stability
Pick a support approach that balances strength with the clean front profile you prefer. The right choice keeps the shelf steady and the front edge tidy while matching your room’s look.
Heavy-duty visible brackets
Visible brackets offer simple, proven strength. Use 8″ x 12″ heavy-duty brackets spaced about every 2 feet plus at the ends. Fasten each bracket into studs with #12 x 1-1/4″ wood screws after drilling 1/8″ pilot holes.
Hidden cleat (ledger) option
A hidden cleat gives a clean front. Use three 1×4 ledger pieces: one full length and two depth pieces cut at 45° to hide them from the side. Secure the cleats to studs so the shelf sits flush on top.
Fasteners, material, and underside planning
- Always hit studs—drywall anchors won’t handle people leaning or heavy monitors.
- Drill clean holes to avoid splitting; match screw length so threads bite into wood without poking through the top.
- Choose brackets and screw placement based on your desktop material and thickness; solid wood, plywood, or MDF behave differently under load.
Build or Prep the Desktop: Wood Selection, Joinery, and Finish
The right wood and joinery make a long, thin work surface feel like a single, sturdy slab. Decide first if you want the thick look of solid boards or the stability of plywood. A single plywood panel avoids a visible seam, while two 2×8 boards give a heavier, traditional feel but may move over time.
Edge preparation and joining
True up board edges on a table saw for a tight glue line. For a clean join, use thick dowels and wood glue across matching pieces. If speed matters, add 3″ x 7″ tie plates on the bottom about every 3 feet and at the ends for extra strength.
Cutting, dry-fit, and trimming
Cut the piece to fit the real wall; nooks can be slightly narrow on one side. Dry-fit before you glue or finish so you can trim without damaging a completed top. Plan the back for cord pass-throughs and mark underside fastener zones now.
Sanding and finishing
Sand starting with 120 grit to remove milling marks, then refine with 220 grit for a smooth top and sides. Choose stain to match room color or paint for a built-in look. Seal with 100% Tung Oil or a protective topcoat; contractors often add a final poly layer for daily durability.
- Tip: Avoid drilling into a finished top—mark fastener locations before sealing.
- Note: Glue joints need clamp time; follow the wood glue manufacturer’s directions.
Install the Brackets or Cleats and Mount the Desk Securely
C start the final phase by lining up each support so the top sits true and won’t shift with use. Make a dry-fit run first so you see how the shelf will sit against the wall and at the back edge.
Hold, level, and mark
Hold each bracket or cleat in position, use a level, and mark the screw holes clearly. Start at one end and work toward the other so the length stays consistent.
Drill pilot holes and confirm studs
Use a 1/8″ bit to drill pilot holes at your marks. Check the drill dust or use a small wood probe so you confirm you’re in a stud, not just drywall.
Fasten supports across the span
Attach supports with #12 x 1-1/4″ screws into the studs. Fasten the end supports first, then repeat across the span to keep everything aligned.
Set the top and secure from below
With a helper, center the desktop left-to-right and push it tight to the wall at the back. Fasten from the bottom side using shorter screws (for example, #8 x 3/4″) so the top remains clean.
Safety checks and tips
- Dry-fit everything before final screws to make sure holes line up and the level is true.
- Protect the finished wood and the wall from scuffs while you move the piece into place.
- Note: some systems slide the top onto hidden brackets, while others rest on cleats and are glued or screwed for extra stability when installing floating surfaces.
Conclusion
The main point: a well-planned floating desk can open floor space and make a room feel more modern, but only if you treat the wall connection, hardware, and measurements as structural rather than decorative.
Keep ergonomic checks simple: confirm workable width and depth, pick a comfortable height, and allow clear front and bottom space for legs and chair arms.
Follow basic safety rules: find studs, keep everything level, use proper screws, and match your support method to your wood top and expected load.
After the installation, do a final inspection. Check for wobble, tighten fasteners, and confirm the top sits flush at the back and stays stable along the full length.
Protect the finish: seal the top, wipe spills quickly, and watch for seasonal movement at joints or where the piece meets the wall. Thoughtful cord routing and discreet supports complete the look while keeping strength out of sight.