You’re fixing an awkward office area at home where off‑the‑shelf furniture won’t sit right. A shallow run — 81 inches long and just 19 inches deep — plus a sliding glass door meant you needed a plan that fit without blocking traffic.
This guide shows how designing custom desks can give a built‑in look without breaking the bank. You’ll follow a clear process: set goals, measure the room, pick a layout, then build and finish a desk that supports a computer, monitor, writing, and a cabinet base for files.
Expect realistic price notes up front. A one‑day DIY hit a $150 budget target and finished at $120. That example proves a well‑defined plan keeps cost and time low.
“Perfect fit” means the desk supports your workflow, keeps clearance for doors and traffic, and looks intentional. The article is organized by decision categories: goals → measurements → layout customization → build/finish → checklist, so you can move step‑by‑step and avoid rework.
Assess Your Awkward Space and Define Your Home Office Goals
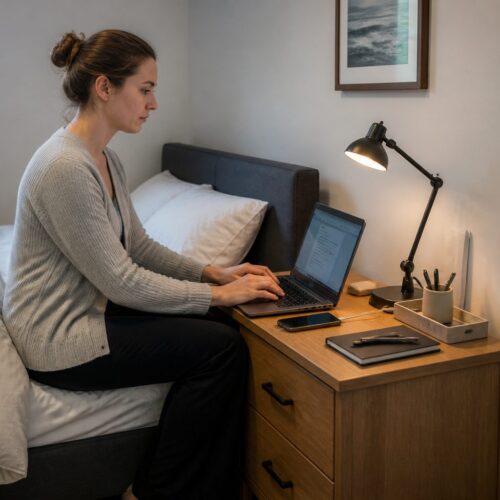
Start by mapping how you actually use the area so the new work surface supports your daily workflow. Write a short list of must-haves: computer, monitor, writing surface, and storage. That prevents undersizing the desktop or missing essentials.

Measure like a builder. Note wall length (81 inches in the example) and max depth (19 inches). Check sliding door travel and the room path you cannot block.
- Work needs: typing, handwriting, or dual-monitor use—size the desk for how you work.
- Storage decision: choose a file cabinet base if you need files and supplies, or keep storage light to save legroom.
- Budget and schedule: set a realistic price (the example aimed for $150) and decide if you want a one-day DIY or more time for upgraded materials.
Confirm success criteria before measuring: the desk fits, the office space stays clear, your computer setup is comfortable, and storage stays accessible without clutter.
Measuring for a Built-In Desk That Fits Wall-to-Wall Without Blocking the Room
Before you cut material, map the wall and floor so the new workspace becomes part of the room, not an obstacle. Take careful measurements and plan how the desk will sit against trim, outlets, and door openings.

Capture key dimensions
Measure wall length (the example was 81 inches) and max depth (19 inches). Record desired desktop height and note if you’ll raise a cabinet base with bun feet or use separate legs for support.
Plan around obstacles
Check baseboards, outlets, window trim, and sliding doors. Leave a small gap at the back edge if cords or trim require it instead of cutting into the wall.
Mock up and confirm
Mark the layout on the floor and wall with painter’s tape or cardboard. Live with the footprint for a day to confirm legroom, chair clearance, and circulation near the sliding door.
- Measure twice: mark reference points, confirm square corners, and note any uneven floor spots that affect leveling.
- Plan support: decide where a cabinet base and where legs will sit so the top is secure without blocking seating.
- Final check: verify the bottom opening keeps your office comfortable for long work sessions.
Designing custom desks: Choose the Right Layout, Storage, and Customization Options
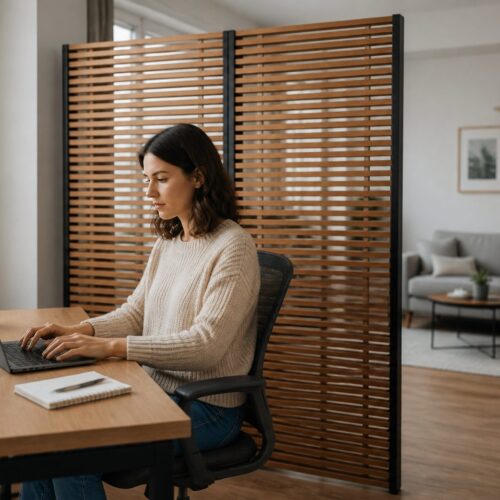
Pick a desk shape that matches your footprint so the workspace feels intentional and uncluttered.
Shape matters: straight tops suit narrow walls, corner units rescue dead zones, L-shaped surfaces give dual work areas, and U-shaped layouts wrap you in surface without extra furniture.
Storage and workflow
Match storage to how you work. Choose built-in cabinets, a file cabinet base, or drawers placed to avoid blocking legroom.
Try before you buy
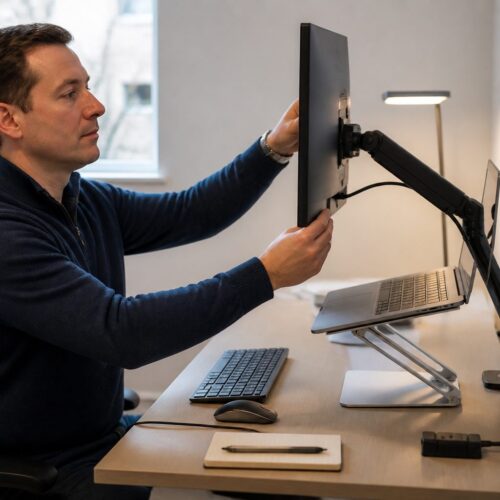
Use a 3D product customizer to preview dimensions, materials, colors, and edge profiles. Photorealistic models help you avoid surprises with desktop height or monitor placement.
- Materials: plywood for budget builds; solid wood for a premium, long-lasting finish.
- Style vs function: minimalist setups hide cables; traditional pieces add visual weight and storage.
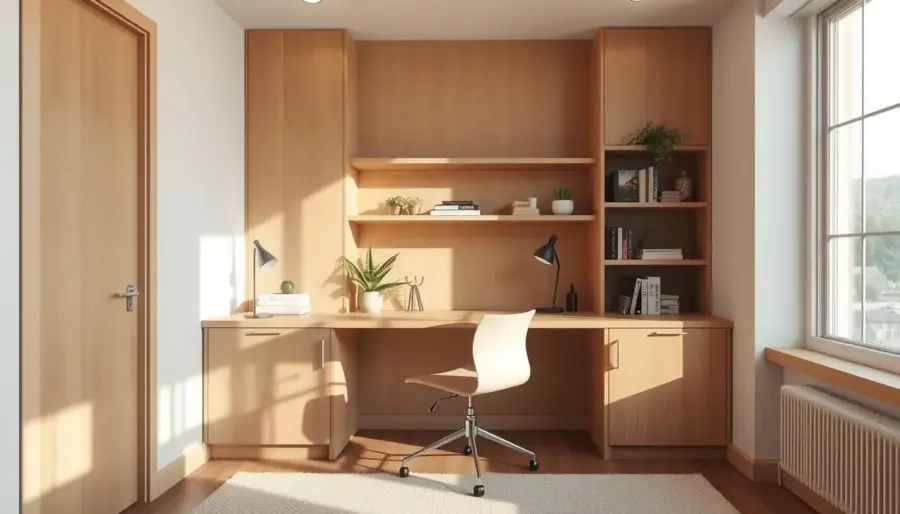
- Built‑in details: consistent border reveals, clean edges, and integrated cable paths make the desk read as part of the room.
Build and Finish Your Custom Office Desk for a Clean, Durable Fit
The last step brings parts together: the top, the base, and the protective finish that makes the piece ready for daily office use.
Select the right top
Choose heavy plywood for affordability and stability or solid wood for a premium look. Plywood sands smooth and holds paint well; wood offers grain and depth.
Prep and paint
Start with sanding using medium-grit sandpaper or a sander to add tooth and smooth edges. Wipe dust, prime the desktop, then apply two coats of a durable furniture paint like Benjamin Moore Advanced.
For metal surfaces, use semi-gloss enamel spray. Spray the cabinet and bun feet for uniform coverage.
Assemble the base
- Cabinet height trick: add 4-inch bun feet to a 25-inch file cabinet to reach 29 inches.
- Drill cabinet corners with an electric drill and metal bits, then attach bun feet and top plates for legs.
- Add rope molding or a border along the front edge to hide raw plywood and create a built-in look.
Use heavy-duty top plates to secure legs, level on the floor, and test stability. This one-day build cost about $120 in the example and delivers a durable, room‑ready office desk.
Conclusion
Conclude by validating the build against simple, practical tests so the workspace serves you long term.
Checklist: define your desk goals, confirm office measurements, test a mock layout, then finalize materials before you buy.
Protect door clearance, preserve walking paths in the space, and keep desk depth comfortable so the room stays open and usable.
Quick decision guide: build when you need a precise fit; buy or use a 3D tool when time, price, or tools limit the project. Secondhand furniture can cut costs.
Budget wrap-up: expect low-end material and tools around $100–$250; add finish supplies or specialty tools as needed to stay under your target price.
Validate comfort: check chair clearance, monitor height, and writing area for long sessions. Final verification categories are fit, stability, finish durability, cable plan, and long‑term usability.
The best office desk is the one that fits your wall and space, supports your work, and looks intentionally built for the room.