The desk-mat-based zoning system helps you turn one small surface into a clear, purposeful area for work. Think of it as the art of grouping focus, collaboration, and reset activities so your day flows, not just a measure of square footage.
You start by mapping tasks, then assign objects and positions on the mat. Next, you tweak lighting and layout and decide what stays off the mat. This stepwise approach keeps decisions simple and repeatable.
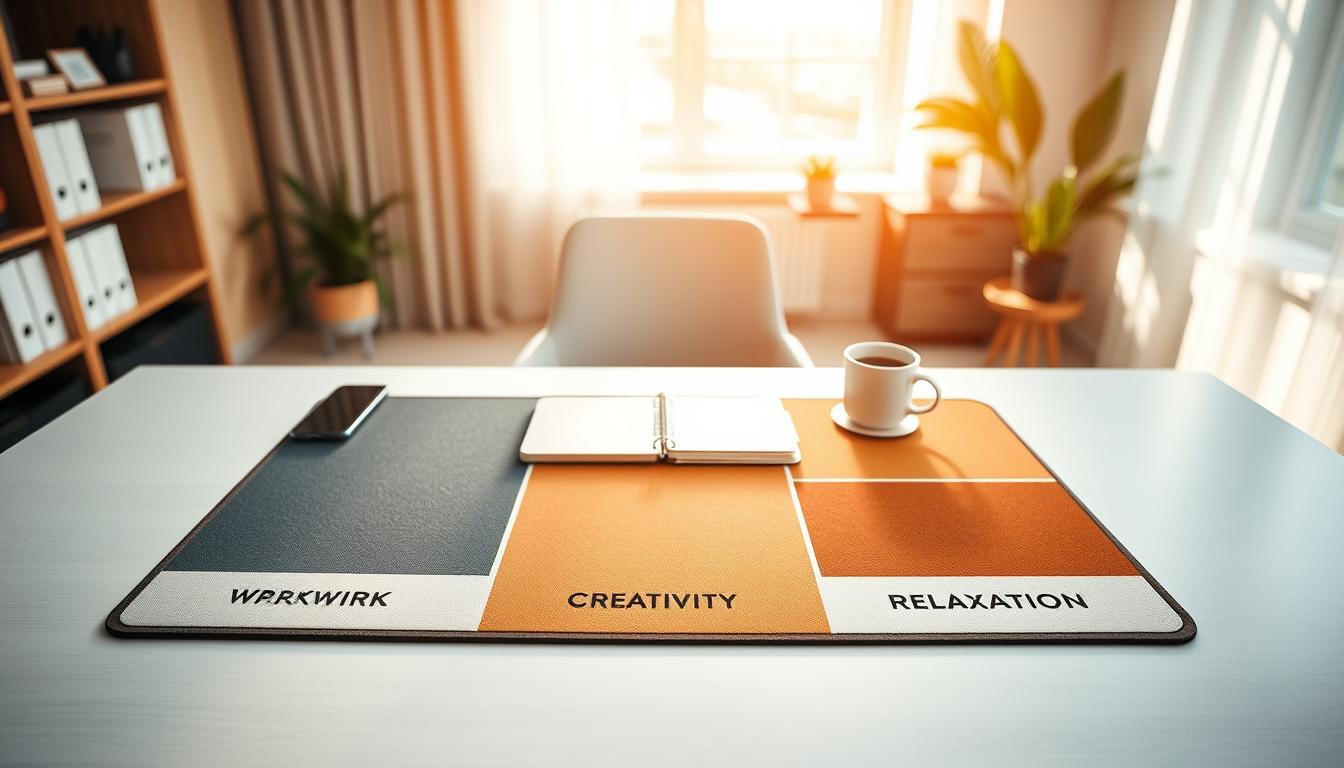
On the mat you build three core areas: a focus patch for deep work, a collaboration spot for quick calls or shared notes, and a reset area to pause and plan. Micro-zones—computer, notes, planning, and device parking—make each action frictionless.
This guide works for real constraints: limited space, mixed-use desks, hybrid schedules, and frequent switching between deep focus and calls. Use the mat as a visual boundary and your small setup will feel intentional and calm.
Why Workspace Zoning Matters for Focus, Stress, and Productivity
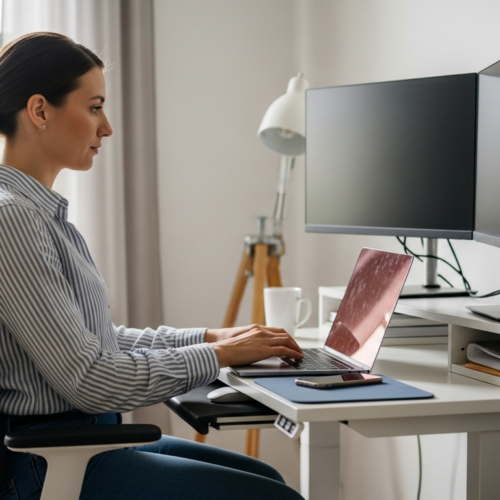
Small physical changes around your work surface can have outsized effects on concentration and comfort. Your work environment affects attention span, posture, and stress. When the main area is consistent, you sit and reach the same way, so long sessions feel easier.
Clutter and drifting tools raise cognitive load. When you spend time deciding where to place things, you increase distractions and decision fatigue during the day. Clear boundaries act as fast cues that tell your brain which mode to use.

Simple markers—an edge, a texture, or a steady left-to-right layout—become triggers for focus or for quick collaboration. This reduces context switching and boosts productivity because your hands find the right tool without scanning the whole desk.
- Attention & posture: stable placement improves comfort and endurance.
- Fewer distractions: less searching, fewer interruptions in your flow.
- Smoother transitions: pair spatial cues with time blocks for repeatable focus across sessions.
What You Need Before You Start Zoning Your Desk Mat
Choose a mat that gives clear visual and tactile boundaries. Pick size and edge contrast so the mat naturally separates different areas of your setup. Texture and color become cues that tell you where items belong and where they do not.

Pick size, texture, and edge details
Match the mat to your available space and how you sit. Thicker mats add comfort; low-friction surfaces help mouse tracking.
Stitched or contrasting borders strengthen the visual edge. Use a subtle color shift to mark a focus area and a different finish for a device area.
Gather the essentials and match them to tasks
List the tools you actually use: laptop, keyboard, mouse, notebook, pen, phone, headset. Assign one primary tool per task and keep duplicates off the mat.
- Selection criteria: thickness for comfort, finish for tracking, borders for separation.
- Prep step: clear the desk, then add items back after assigning them to an area.
- Kit rule: limit each area’s tools so the mat stays functional and focused.
These simple decisions in design and layout help the mat define functional areas that support your needs and daily tasks.
Map Your Daily Activities Into Clear Workspace Zones
Map your real-day routines—what you do most—and assign each activity a small, stable place on the mat. This keeps decision fatigue low and helps you move between modes faster.
Identify your core modes
Pin down three core modes: focus work, collaboration, and reset time. Base these on what you actually do during a typical week, not an ideal schedule.
Create micro-zones for common actions
Break each core mode into micro-areas: computer work, writing, planning, and device parking. Limit each micro-area to a few items so the mat stays useful.
Match zones to your needs and work style
Choose placement and tools that reflect your needs. If you do paper-heavy planning, give more mat space to notebooks. If you are digital-only, prioritize mouse and keyboard reach.
Decide what does not belong
- Exclude: mail piles, random cables, extra gadgets, and snack wrappers.
- Treat the mat as active work only—move chargers and backups off the mat to keep areas distinct.
- Example mapping: focus zone centered; collaboration to one side with headset and call notes; device parking at the top edge to reduce dings and distractions.
Set Up a Focus Zone That Protects Concentration
Set up a focused area that keeps your eyes and hands on the work that matters most. The goal is simple: limit visible items so your brain gets one clear signal—focus.
Keep it clean and minimal. Reduce visual noise by leaving only your minimal kit on the desk: keyboard and mouse, main notebook, one pen, and a short task list. Removing extras cuts visual clutter and lowers distractions.
Ergonomic flow and reach
Place your primary work surface in the center of your reach. Your keyboard or writing pad should sit so shoulders stay relaxed and movements stay efficient.
Lighting for deep work
Use even, bright task lighting that avoids reflections on screens. Position the desk perpendicular to windows to reduce glare while keeping natural light for energy and alertness.
Seating, alignment, and stamina
Match chair height, desk height, and screen level so posture-friendly seating supports longer sessions. A quick daily reset—clear the zone at day’s end—makes tomorrow’s start immediate and low-friction.
- Goal: protect concentration by limiting what you see and reach.
- Minimal kit: keyboard/mouse, notebook, 1 pen, task list.
- Maintenance: reset the focus area each evening.
Create a Collaboration Zone for Calls, Brainstorming, and Discussions
Create a compact spot on the mat that makes it simple to start a call, swap notes, or brainstorm with others. Treat this area as the place for quick teamwork moments so your focus area stays intact.
Design for quick teamwork moments
Keep the collaboration area open. Remove permanent clutter so you can place a notebook, tablet, or agenda instantly. Fewer objects mean faster meetings and less setup friction.
Tools that externalize ideas
Keep a small whiteboard, a writable pad, and sticky notes within reach. Use a shared notes app on your tablet for teams so ideas persist between sessions.
Support movement and seating
Place headset, webcam clip, and call notes where you can grab them fast. Choose accessible seating or a stool nearby so people can join short discussions without a full rearrange.
- Mobile item: keep one stand or notepad you can pull in for meetings.
- Boundary rule: store collaboration tools here only so your focus area stays visually quiet.
- Workplace fit: mirror office flex spaces at a small scale to support teamwork and brainstorming.
Add a Reset Zone to Reduce Stress and Improve Your Workday Rhythm
Carve out a small downshift spot on your mat that signals it’s time to breathe and reset. Make this area deliberate so it helps you reduce stress and restore energy during the day.
Use warm lighting and calming cues
Choose soft, warm tones to mark the reset area. A low-watt lamp or warm LED gives a clear visual cue that this is a recovery place, not a work area.
Bring in nature for wellbeing
Add a compact plant or a natural-material coaster to shift the environment subtly. These small touches echo lounge areas and wellness zones in offices and improve your sense of calm.
Make it device-light to disconnect
Park your phone outside the zone or flip it face-down. Keep the reset area free of active devices so breaks feel like real pauses.
- Define it: a deliberate downshift area that helps reduce stress and supports your workday rhythm.
- Rituals: two minutes of focused breathing, a short stretch, or a screen-free pause before returning to tasks.
- Boundary rule: never use the reset spot for active work so it stays linked to recovery, like wellness zones in a larger workplace.
Optimize Your Zones With Layouts, Lighting, and Flexible Design
A thoughtful layout and flexible furniture let your mat shift with your day. Start small: tweak screen angle, lamp location, and mat orientation before you buy anything new. These tiny changes improve reach and reduce glare so each area functions well.
Natural light rule: position your desk perpendicular to windows to limit glare while keeping brightness and comfort. That setup preserves daylight and lowers reflections on screens so you can work longer without strain.
Use multi-functional furniture to support different modes. Monitor arms, laptop stands, rolling carts, and convertible tables let one surface serve focus, collaboration, and reset. This design approach keeps your small space adaptable and efficient.
Translate office planning to your mat
Borrow office space ideas like quiet zones, flex spaces, and lounge concepts, then shrink them to fit your mat. Match each mat area to one main function so employees and teams at home—yourself included—get predictable spots for tasks.
Schedule areas as bookable zones
Treat each area like a bookable zone: block focus time from 9–11, reserve collaboration at 1, and plan a reset mid-afternoon. Time blocks help boundaries hold throughout day and reduce setup friction between sessions.
- Evaluate layouts: check which areas get crowded, then swap or resize items weekly.
- Improve productivity: better layout choices speed starts and cut cleanup time.
- Iterate: track real use and adjust furniture and placement like an office adapts rooms for employees and teams.
Conclusion
Treat your desk mat as a small command center that signals what to do next and what to leave behind.
When you map items and habits to a clear workspace, the result is routine that reduces friction. Your transitions become faster, your desk stays cleaner, and starting work feels simpler.
Remember the three core areas: focus, collaboration, and reset. Micro-areas inside that layout make everything fit on a tight space and work reliably day after day.
Make one measurable change first—define device parking and clear the focus spot—then adjust as your tasks shift. Keep protecting the mat boundary by removing off-mat items, doing quick resets, and resizing areas when needed.