Dark corners make focused work harder. Shadows strain your eyes, tools can be harder to see, and a brighter bulb alone often misses the mark.
In this guide you’ll learn a clear approach: assess your space, pick beam direction and angle, set the right brightness and color, then place fixtures for best results. These steps lead to clearer surfaces, less eye strain, fewer shadows, and safer movement.
By “task lighting” we mean directional, targeted light that goes where you work, not an effort to light the whole room. You’ll see how layering this with ambient and accent light delivers the best outcome.
You can apply this design in common home spaces like a home office, kitchen, reading nook, or workshop without a full remodel. Practical examples (desk lamps, under-cabinet strips, clamp lights) appear later in the guide.
Why Task Lighting Matters in Dark Corners for Focused Work
A dim corner can quietly sap your focus and slow routine tasks. Good illumination gives the exact light you need on a work surface so your eyes don’t chase details.

Layering light keeps a room usable and comfortable. Overhead fixtures provide general ambient lighting, but they often leave edges in shadow. That is why a layered approach matters.
How the layers work
- Ambient lighting / ambient light: fills the room with base brightness so the space feels even.
- Task: directs focused output onto what you do so tools, paper, and screens are clear.
- Accent lighting / accent: highlights surfaces or objects and adds depth without replacing focused light.
Poor corner illumination raises eye strain and general strain on posture. You squint, lean in, or move items into better light. That hurts comfort and long-term performance.
Glare is the other side of the coin. Too much or badly placed light can bounce off screens and shiny counters and still cause eye strain. Aim light onto the task plane, not behind you, to reduce both shadows and glare. That simple habit improves visibility, safety, and speed in desks, kitchen runs, and workshop benches.
Assess Your Space and Work Areas Before You Choose Task Lights
Begin with a quick survey of how people move and work in the space. Measure the area you use and note where the floor, furniture, and fixtures fall. This makes it easier to plan effective coverage that matches real habits.
Identify the activity and viewing angles
Write down what you do at the surface — typing, chopping, soldering — and how close your eyes sit to the work. Mark the directions you face so you know where shadows or glare will appear.
Map the corner with a simple floor sketch
Draft a basic floor plan showing windows, doors, tall furniture, and existing fixtures. Add measurements so you can predict shadow lengths and choose a fixture beam that fits the area.

Factor in natural light and common problem zones
Track natural light across the day and seasons. Daylight helps but changes, so plan for evening use. Note common trouble spots: desk corners, kitchen counters under wall cabinets, and back-of-garage workbenches.
- Check your current surface level — is overhead light blocked by cabinets or your own head?
- Mark sitting or standing positions to predict where shadows will fall.
- Create a simple plan you can test and adjust before you buy a fixture.
Assessment determines direction, beam angle, and fixture choice, so you avoid buying lights that look good but don’t solve dark-corner problems.
Task Lighting Principles for Direction, Beam Angle, and Shadow Control
When you focus light where you work, details pop and eye strain drops. Use directed output so brightness lands on the work surface rather than on walls or the ceiling.
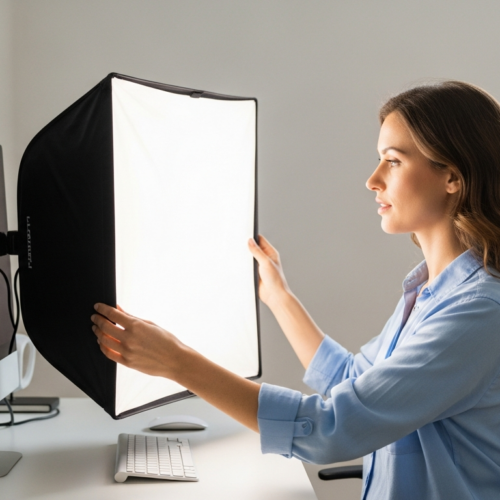
Choose focused, directional light
Task lights work best when they concentrate output. Spreading light too broadly lowers usable brightness on the surface and reduces contrast, which makes fine work harder.
Match beam angle to the job
Narrow spot beams deliver punch for detailed work like soldering or model making. Wider linear wash beams, such as under-cabinet strips, give even coverage along counters and long desks.
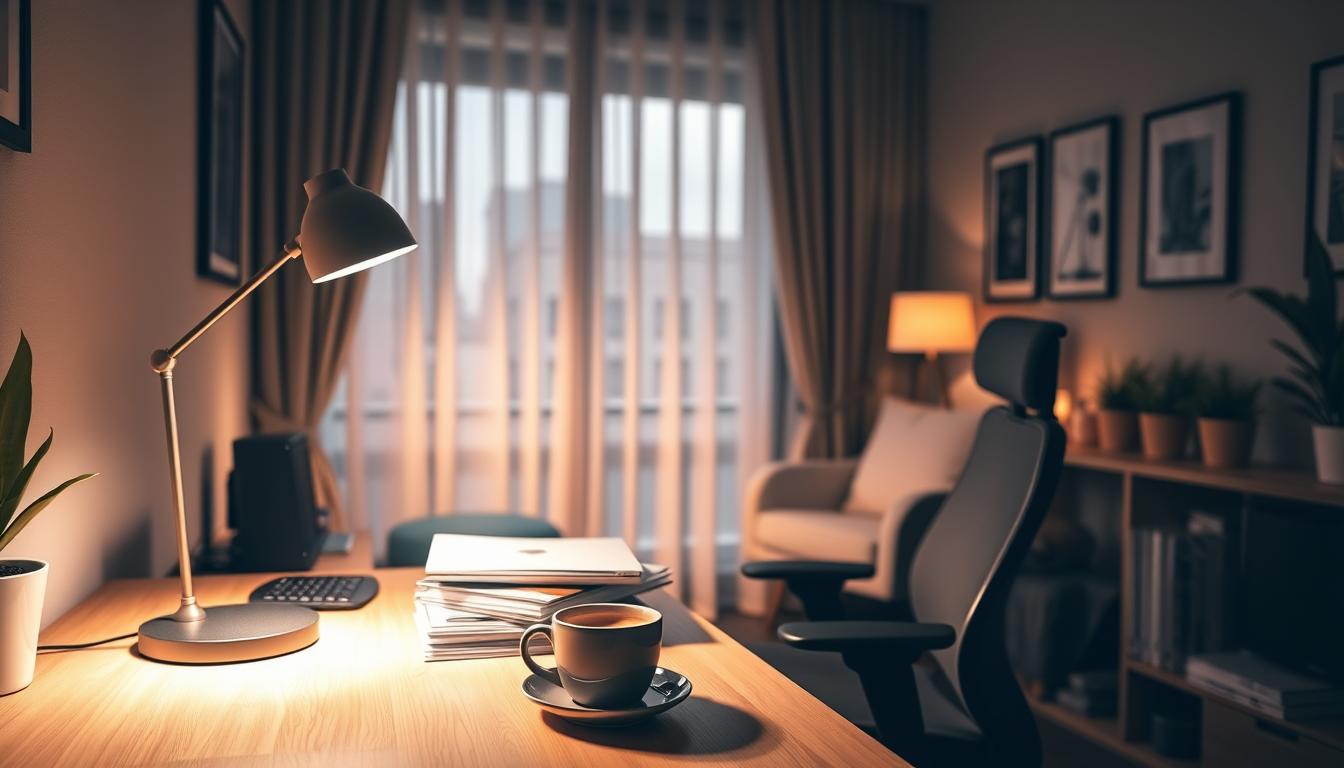
Downlight vs. side light and shadow control
Downlight is common for desks and counters. Side light helps when downlight casts your hand or face into shadow.
- If your hand or tool casts a shadow on the work, move the light higher, forward, or to the side.
- Aimable fixtures and swivel heads let you fine-tune angle without rewiring.
- Avoid uplight that bounces off glossy surfaces—reflections create bounce-back glare on monitors and polished counters.
Position lights in front of you, or slightly to your non-dominant side, so your body does not block the beam. That simple change is an easy way to reduce shadows and glare while improving visibility.
Pick the Right Brightness, Dimming, and LED Light Quality for Comfort
Set a clear target for lumens and color so your workspace feels calm and precise.
Match lumens to your tasks
Translate brightness into numbers. Aim for about 450 lumens for casual work and roughly 800–1,000 lumens for detail-heavy tasks like soldering or fine food prep.
Use dimming to manage glare and adapt
Dimmable fixtures let you keep a high maximum and lower output when ambient light is strong. This reduces glare and keeps contrast useful on the work plane.
Choose color temperature and high CRI
Pick neutral-to-cool white for focus—around 3,500–5,000K works well in an office or kitchen. Also prioritize high CRI so colors and small details remain accurate.
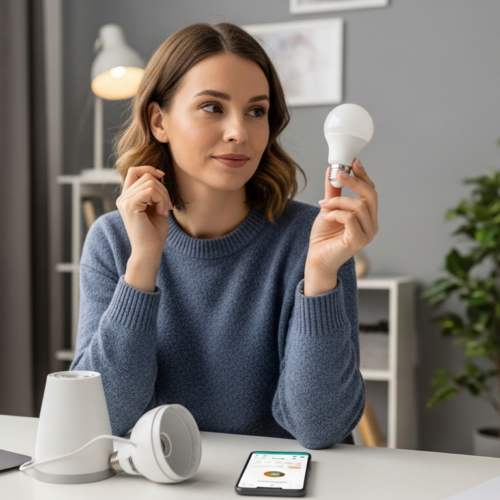
Why LED is the practical choice
LEDs are energy efficient, long lasting, and resist vibration in busy work areas. Choose an LED fixture you can dim and that reports CRI 90+ when color accuracy matters.
- Set a comfortable level: start bright, then dim until your eyes relax.
- Match output to the surface, not the bulb’s wattage.
- Favor fixtures with adjustable heads so you control shadows and reflectance.
Choose Fixtures That Fit Your Room and Install Them for Maximum Effectiveness
Pick fixtures that match how you use each corner so the light works, not fights, your routine. Start by matching the style to the activity and the surface you need brightened.
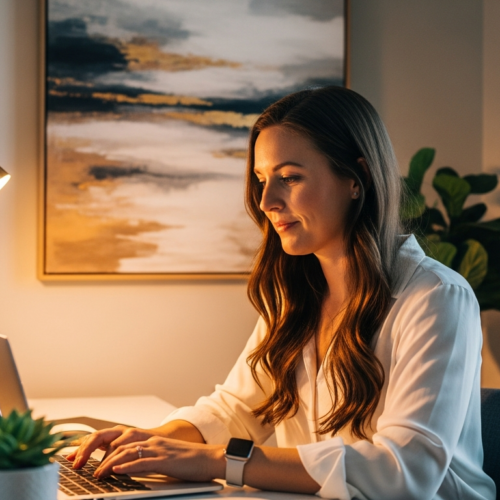
Desk lamps for home office focus and screen-friendly angles
Use an adjustable desk lamp with a swivel head so light falls on your keyboard and notes, not your monitor. Aim the beam from the side of your non-dominant hand to avoid shadows.
Under-cabinet strips to brighten counters without shadows
Under-cabinet LED strips create a linear wash that removes the shadow line from upper cabinets. Choose dimmable strips and high CRI to keep colors accurate on surfaces.
Pendants, light bars for islands and shared tables
Pendant or light bars give direct, shared illumination for an island or table. Space multiple fixtures so the beam covers the whole surface and no one crowds a single lamp.
Floor lamps and swing-arm sconces for reading corners
When table space is tight, a floor lamp or swing-arm sconce keeps the beam on the page. Pick adjustable mounts so you can change angle as you move or switch tasks.
Workshop-ready options and a quick glare check
In workshops, favor clamp lights, metal housings, and bolted joints for durability. LEDs handle vibration and reduce heat.
- Turn lights on at night and sit where you work.
- Check for reflections on monitors, mirrors, or glossy tables.
- Adjust until your hands and tools stop casting heavy shadows.
Conclusion
A small lamp aimed properly can change how you work in a dark corner.
Start by assessing your space, then apply the core steps: pick direction and beam spread, control shadows, and set brightness, dimming, and color for comfort. Use task lighting as the focused layer and pair it with ambient lighting and accent lighting for balance.
Do this every time: place the light so it lands on the surface in front of you, not behind you, to keep hands and tools from casting shadows.
Before you buy, do a quick self-audit tonight: sit where you work, turn lights on, note shadow lines and reflections, and tweak angle or height. Small moves—repositioning a lamp, adding an under-cabinet strip, or swapping to a better LED—often solve the problem and make the room far more usable.