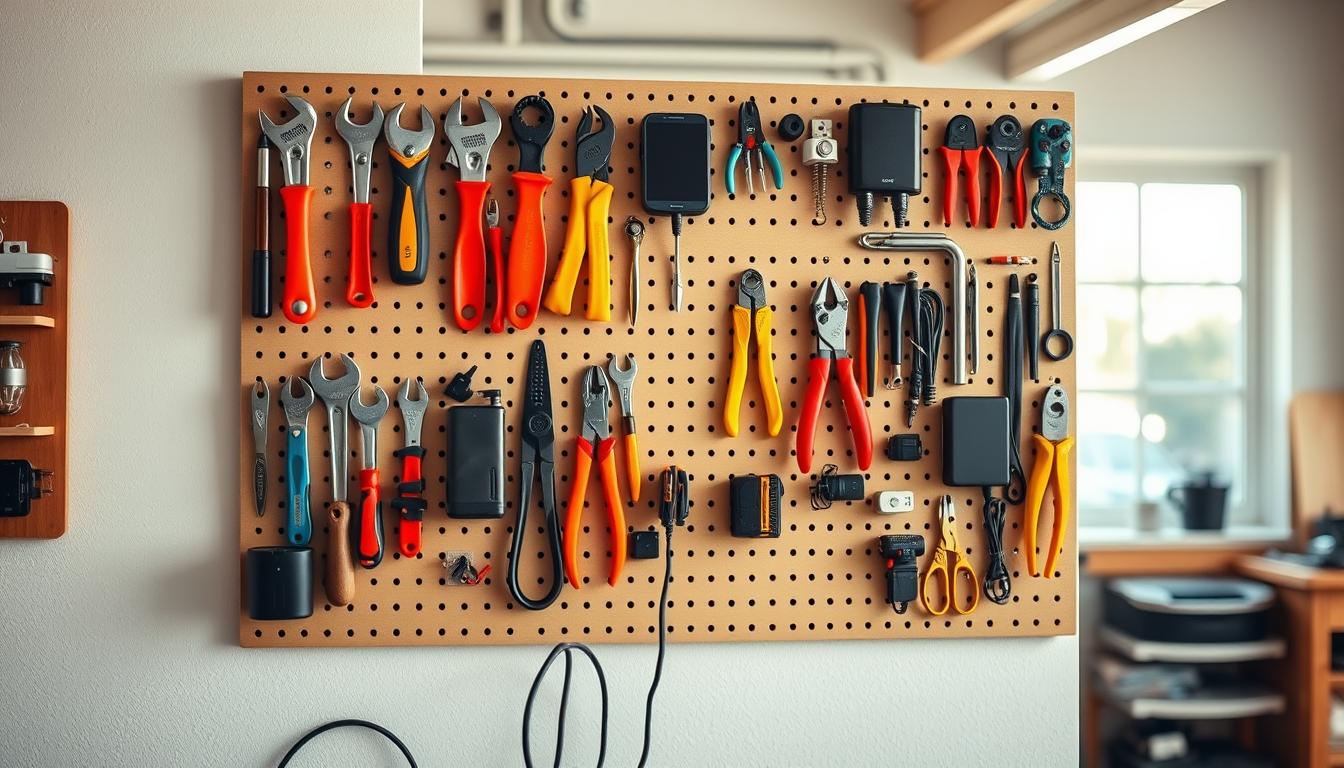
You want fast access and a calm workspace. A modern pegboard turns a blank wall into a reconfigurable surface that keeps tools and chargers visible. This approach helps you grab what you need and stay in the flow.
The guide that follows will help you plan your space, choose board materials, install securely, and zone by frequency of use. You’ll learn to pick hooks, bins, and chargers so your setup adapts as projects change.
Common complaints include a messy look and a flat feel. Layout planning, layered storage, and simple styling fix both problems while keeping everything within reach.
This applies to your home office, workshop, studio, or garage work area when you mix hand tools with cables and batteries. Think modular: treat the arrangement as a living system so you can reconfigure it fast.
Finally, consider strength and mounting from the start. Load planning and safe anchors matter as much as aesthetics for long-term use.
Why a Pegboard Wall System Works for Your Workspace
When your workspace shows what you have, you spend less time hunting and more time making. A visible wall keeps daily items in plain sight so you can grab the right tool without opening drawers or boxes.
Seeing everything at once reduces duplicate buys. In a craft-room survey, users with this type of wall reported 42% fewer repeat purchases because they could check inventory quickly.
Less hunting means fewer interruptions. Staying in a focused flow matters for long projects, and quick access prevents frequent breaks that cost you productive time.

- Best when you want fast access, easy reconfiguration, and a simple visual organization.
- Not ideal if you hang items randomly—intentional grouping keeps the wall from becoming cluttered.
- Ties to real needs: from electronics repair to crafting, this storage solution saves time and reduces frustration.
Next, plan your layout so the wall supports how you actually work and keeps your most-used items where you reach them first.
Plan Your Layout Before You Drill
Before you drill, sketch a plan that matches your daily workflow and reach. Start by measuring the wall dimensions, noting studs and outlets, and marking clear work zones like your bench, charging spot, and packing area. This makes placement follow how you actually work.
List the tools and tech you use most, then rank those items by frequency. Put the highest-use items where your hands and eyes land first. That ranking saves time and prevents you from designing around rarely used gear.
Group like items—cutting, measuring, fastening, charging—so your wall reads at a glance. Sequence similar tools by size when it helps readability; a pattern of drivers or wrenches is easier to scan than a jumble. Core77 notes that grouping solves the “needle-in-a-haystack” problem.

Build in growth space for future projects and accessories. Use a paper template or painter’s tape on the wall to move zones until reach and sight lines feel natural. This planning step reduces rework, fewer extra holes, and a cleaner final setup.
- Measure and mark zones first.
- Rank items by frequency.
- Group categories and sequence by size.
- Leave empty space for new projects.
Pegboard system design: Choose the Right Board Materials and Wall Setup
Pick a board that suits the room’s moisture, the weight you’ll hang, and the look you want. Start by matching materials to your environment so the wall lasts and performs.
Hardboard works well for basic garages and home shops. It’s affordable and easy to mount for light hand tools.
HDPE resists moisture and won’t warp, so choose it for damp basements, laundry-adjacent areas, or humid climates.
Powder-coated metal supports heavier loads—craft contexts cite capacities up to 50 pounds per square foot—so use it when you add shelves or hang heavy tools.
Acrylic panels give a modern look and keep surfaces cleaner, while fabric-covered boards can reduce echo in recording or media rooms.
Depth planning avoids the flat-wall limitation: add standoffs, thicker hooks, baskets, and sliding panels to increase usable surface area.
- Check hole spacing and accessory compatibility before you buy.
- Decide by environment, load needs, and how often you’ll reconfigure the setup.
Use Frequency Zoning to Put Everything in the Right Place
Frequency zoning helps you sort items by how often you use them, so every tool has a clear place. This method keeps daily gear at hand and moves occasional pieces out of your main work area. It reduces interruptions and keeps your setup easy to reset after each project.
Eye-level zone for daily grabs
Zone 1 sits at eye and arm level for the tools you reach for multiple times per session. Put drivers, cutters, measuring tape, and daily cables here so your reach stays short and consistent.
Mid-to-lower for project items
Zone 2 holds items you use about once per project. Place mid-weight gear and boxes here so they are accessible without crowding prime space.
Upper storage for occasional gear
Zone 3 stores seasonal or specialty items. Keep them visible but out of the main work lane so the area stays uncluttered.
Create microzones by workflow
Group charging, cutting, measuring, or soldering into small microzones. Each microzone should contain the items and a single go-to tool. Do a quick test: track what you touch for one work block, then tweak zones to match real behavior, not theory.
- Define zoning to stop wasting time relocating tools mid-task.
- Use the test to tune your pegboard system and overall setup for better flow.
Install Your Modular Wall System for Strength, Safety, and Easy Reconfiguration
Start your install by planning load points and fastener types so the wall holds steady for years. Map where heavy items will live and mark studs before you touch a drill. That upfront work prevents damage and keeps hooks from pulling out under use.
Mounting basics that protect your wall
Find studs and use screws into wood where possible. When studs aren’t available, pick anchors rated for the load. Add furring strips or standoffs so hooks seat firmly and don’t lever the panel away from drywall.
Weight capacity checks for shelves and brackets
Check manufacturer specs for load ranges. Metal panels often support more weight than wood or plastic, so match shelves and brackets to the panel’s rating.
- Distribute weight: heavy items over studs, lighter gear on wider spans.
- Keep panels level and hole patterns consistent so reconfiguring doesn’t weaken mounts.
- Secure shelves and confirm locking brackets before placing tools above head height.
Follow the specs for different materials and double-check that pegboard hooks and shelves meet your actual needs. That keeps your systems safe, durable, and easy to rearrange as projects change.
Pick Pegboard Accessories That Organize Tools and Tech at a Glance
Pick accessories that make every tool and charger visible and ready to grab. Start with a few versatile pieces and add extras as your needs change.
Hooks, pegs, and clips for hand tools and cords
Use sturdy hooks and specialty pegs for hand tools, cords, and packaged items so labels face forward. Clear containers on hooks let you see low inventory and restock before you run out.
Shelves and baskets for awkward gear
Switch to shelves or hanging baskets when things won’t hang cleanly. Wooden shelves or deep baskets keep odd-shaped gear stable and easy to grab.
Bins, the 3D matrix, and tech-friendly zones
Use labeled bins and clear containers for adapters, small parts, and project components. Build a “3D matrix”: keep daily items 1–2″ from the face for short reach and put backups on extended hooks.
- Standardize a few hook and bin sizes so reconfiguration is fast.
- Create a tech zone for chargers, batteries, headphones, and cable storage.
- These pegboard accessories drive fast customization and better storage solutions.
Make It Look Good Without Losing Function
Make your storage pull double duty: fast retrieval and a pleasing look. Keep visual clarity first so your wall helps you find tools quickly, not adds another step to decode what goes where.
Color-coding accessories to speed up retrieval and reduce mix-ups
Use a simple color plan: red for cutting, blue for measuring, yellow for fasteners, and green for electronics. Studies show color-coding sped retrieval by about 23% in time-motion tests.
Keep labels and repeat colors to avoid confusion. Limit the palette so the color cues stay useful, not noisy.
Style options that fit your home, garage, or studio aesthetic
Choose powder-coated metal for a modern look, acrylic for crisp clarity, or fabric-covered panels for a softer room feel. Match hook and bin finishes to the panel to reduce visual clutter.
Simple ways to tame the “ugly pegboard” problem with finishes and patterns
Paint the wall behind the panel, align rows for rhythm, and hide overflow in matching baskets so camera-ready spaces stay tidy. A quick reset routine is easier when the wall looks intentional.
- Consistency rule: limit finishes and repeat a small palette.
- Maintenance tip: a tidy look encourages daily resets.
- Camera-ready: hide bulk in bins; keep daily tools visible.
Conclusion
Finish strong: concentrate on clear zones, sturdy mounts, and a simple daily reset to keep your workspace usable over time.
Plan the space, pick materials for your environment and load needs, and install anchors that match the weight you’ll hang. Use metal or HDPE where moisture and heavy shelves matter, and lighter boards where mobility is key.
Add depth with shelves, baskets, and bins so chargers, parts, and awkward items have a proper place. This upgrade turns a flat wall into real storage and improves retrieval time.
Keep a short reset ritual: return each tool and item after use. That habit preserves visibility, reduces wasted time, and keeps your organization reliable.
Next step: choose one wall, mount a panel, organize your top-use tools, and expand as your needs change. Always confirm weight ratings for hooks and shelves and keep heavy items out of overhead zones.