Freeing up desk space starts with removing bulky bases from your screens. A well-placed monitor arm elevates the display and clears the surface where you do real work.
This short guide shows how mounting screens changes the way you use your desk. You will learn how a single support can open a zone for writing, docking a laptop, or keeping a notebook within reach.
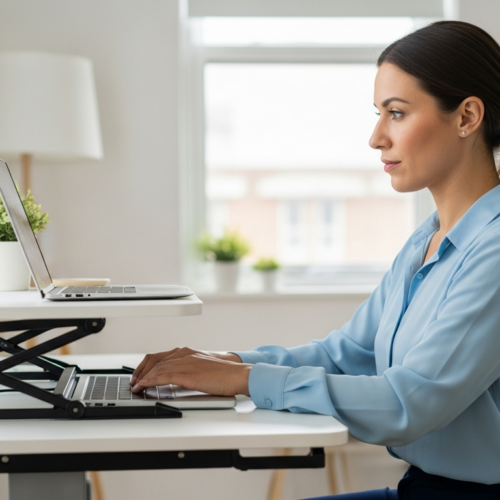
Expect practical tips on comfort and setup. When the arm holds the panel at the right height, you avoid slouching and neck strain. Good cable management keeps the cleared area tidy so the new space stays useful.
Finally, you will preview choices from single to dual and heavy-duty setups, plus mounting tips to avoid damage. The focus is simple: more usable surface, better posture, and a cleaner look for home or office work.
Why Mounting Your Monitor Reclaims Desk Space and Improves Your Setup
Freeing the base from your desktop immediately opens a tidy rectangle of usable surface. That cleared area stops being “dead space” and becomes a spot for real work.

How lifting the base creates usable workspace: When you remove the stand, you gain room for note-taking, a drawing tablet, an audio interface, or extra keyboard and mouse space. Two screens on proper supports reclaim far more surface than two bulky stands.
Why a cleaner desk supports focus and productivity
Fewer items competing for attention help you stay on one task. Clearing cords and clutter shortens small delays like moving objects or untangling cables, which adds up to better productivity and efficiency.
How supports contribute to a minimalist setup and cable control
Floating displays reduce visual bulk and make a desk feel intentional. Built-in cable routing keeps power and video lines tucked along the support, preventing snags when you adjust the screen or share it with someone across the desk.
- Reclaim a rectangular workspace for daily tasks.
- Use routed cables to keep the cleared desk actually open.
- Scale the gain: more screens on supports = more reclaimed desk space.
Monitor arm benefits for Ergonomics, Comfort, and Productivity
Smart screen supports let you tune height and angle so your body, not the display, sets the posture.
Set the right height so the top edge of the screen sits at or slightly below eye level. Small height moves stop you from craning your neck and cut the chance of long‑term back and neck strain.

Reduce eye strain with distance and angle
Place the screen about 20–40 inches from your eyes—roughly an arm’s length. Tilt and swivel to reduce glare and get a comfortable viewing angle that lowers eye strain and squinting.
Adjustability for movement and task switching
Use tilt, swivel, and rotation to match different tasks. Switch to portrait for long documents or coding, and back to landscape for spreadsheets. Dynamic positioning helps you keep alignment as you sit or stand.
- Neutral posture: top edge at or below eye level to protect the neck.
- Distance: 20–40 inches to reduce eye strain during long sessions.
- Rotation and tilt: match viewing angle to task for fewer headaches.
Ergonomics and productivity go hand in hand: when discomfort and pain are reduced, you focus longer and recover faster between tasks. A flexible support system makes sit‑stand transitions seamless and keeps your screens aligned with your health and work goals.
Choose the Right Monitor Arm for Your Desk, Monitors, and Workflow
The ideal display support fits the size and weight of your screens and the way you work each day. Start by listing how many monitors you use and whether you move screens often or leave them fixed.
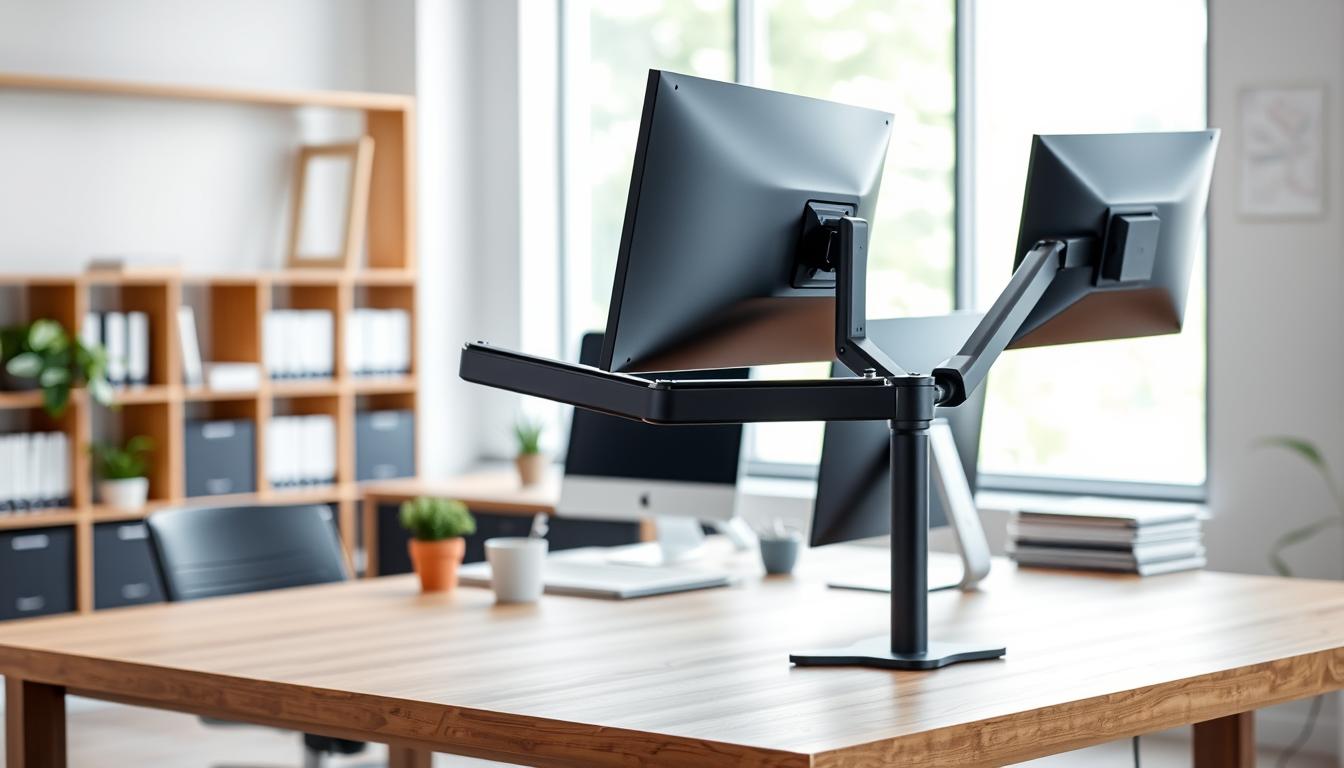
Single, dual, and multi options
Single supports usually handle screens up to ~35 inches and ~25 lbs. Dual solutions typically support about 7–20 lbs per display. Multi setups scale to three to six smaller screens for trading or engineering desks.
Heavy-duty and load limits
For ultrawide or very large screens choose heavy-duty models rated up to 57 inches and 44 lbs. Weight capacity and build materials affect stability and performance; a sturdy unit prevents sag and wobble during adjustments.
Mechanisms: spring vs. post
Spring mounts give smooth, repeatable adjustments and high flexibility for frequent repositioning. Post mounts offer simple, solid support with fewer movement axes but strong stability for fixed setups.
Specialized mounts and a quick fit checklist
Wall mounts save desk surface in tight rooms. Laptop mounts lift a notebook to eye level. Rail mounts line up multiple screens cleanly.
- Confirm desk edge clearance and thickness.
- Check each screen’s size and weight.
- Decide if you need rotation for portrait use.
Match the support to your real needsso your setup feels natural and performs reliably for home or office users.
How to Mount Your Screens Correctly Without Damaging Your Desk
Start with three simple verifications—VESA pattern, desk strength, and mounting style—before you install. These checks keep your setup steady and preserve the surface you reclaimed.
Confirm VESA and fit
Locate the hole pattern on the back of your screen. Common VESA sizes are 75×75 mm and 100×100 mm. If the plate doesn’t match, plan for an adapter.
Check your desk
Avoid glass tops and thin panels. Aim for about 0.75-inch thickness or more so a clamp or grommet spreads pressure safely.
Choose a mounting method
Clamp mounts are quick but can mark finishes. Grommet mounts are the most secure but may need drilling. Freestanding bases are best for temporary setups.
- Set top edge at or just below eye level.
- Keep the screen about an arm’s length (20–40 inches).
- Tilt slightly to cut glare and reduce strain.
- Tune tension slowly so the display holds position without drifting.
- Final check: test range of motion, confirm level, and verify desk stability.
Conclusion
Small setup moves unlock more usable surface and steady comfort during work.
Act on three clear wins: reclaim desk area, improve ergonomics, and keep the layout flexible for different tasks. Align the top edge of your screen at eye level, keep it an arm’s length away, and tilt to cut glare.
Less clutter and tidy cables reduce friction and raise productivity over time. Proper positioning helps lower neck and back discomfort so you work longer with fewer breaks.
Next step: measure your screen’s VESA pattern and weight, confirm desk compatibility, and pick a model that matches how you work. Reassess position and comfort every few weeks so your setup keeps improving your experience.