Path management means choosing a clear, predictable route for your cables so they stay controlled, accessible, and less likely to snag. This is a practical, low-effort home project: aim for a passable, intentional look rather than perfect invisibility.
You’ll learn a renter-friendly approach that uses adhesive guides to run lines along walls, baseboards, and furniture edges without drilling. Plan the route first, bundle slack, then secure runs with a few well-placed clips to reduce visual clutter.
Watch out for one big mistake: wrong cable length creates loops on the floor and behind furniture. Routing helps, but trimming excess or swapping shorter cords often fixes the mess for good.
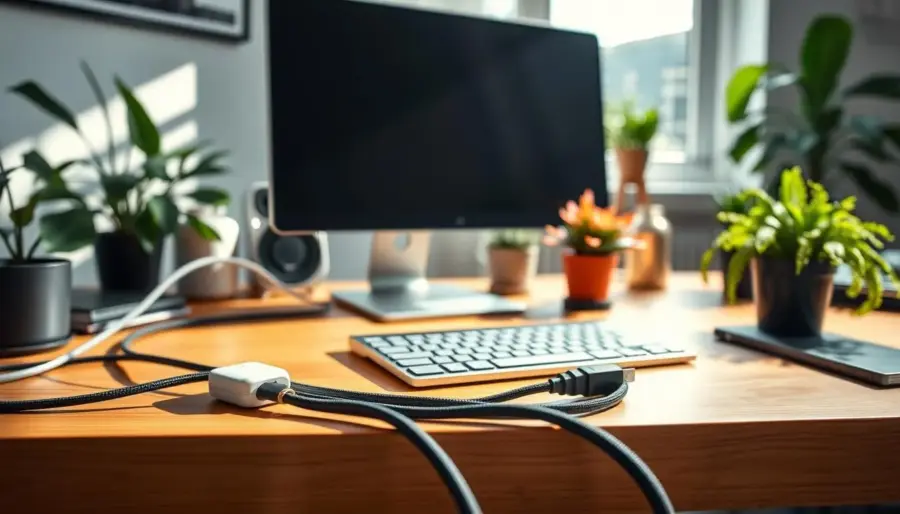
Clutter usually appears at desks, TV consoles, nightstands, and charging zones. This guide balances aesthetics and safety so power lines stay out of foot traffic while ports remain reachable. Later sections show add-on options like raceways, cable boxes, under-rug fixes, decor tricks, and rechargeable swaps for a complete solution.
Plan Your Cable Path for a Cleaner Home Setup
Start by mapping where each cable will run so you avoid surprises when you stick down guides. Unplug devices in small groups, detangle every cord, and label each end with masking tape or a small tag.
Measure the actual route a cable will travel — around a desk leg, along a baseboard, or up to a TV. Add about eight inches to the length so you won’t be short when devices move.
Pick a “passable” goal: hide the most-visible runs and keep less-visible cables controlled behind furniture or inside a shelf. That approach saves time and money while improving the look.

- Fast reset: unplug, detangle, and label to make re-connecting quick.
- Measure right: test loose cables before you commit to adhesive placement.
- Essentials: a small pack of cable clips, a few cable ties (Velcro or zip), and an optional sleeve or raceway.
Do a quick cord audit: note what can be shortened, replaced, or moved closer to power. Once paths and slack are reduced, you’re ready to use clips for straight, consistent runs.
Cord clip strategies for Adhesive-Guided Cable Routing
A smart fastening plan saves time and keeps cables secure behind desks and along baseboards. Start by matching the style to the job: thin holders for charger wires and sturdier cable clips for thick or bundled runs. Undersized fasteners pinch lines and cause pop-offs.

Prep surfaces so adhesive holds. Wipe walls, furniture undersides, and the desk area with isopropyl or mild cleaner. Let surfaces dry and avoid flaky paint or textured spots that reduce contact.
- Map first: loosely run cables along the planned route to confirm reach and slack.
- Placement rules: align holders in straight runs, use even spacing, and tighten turns with more fasteners for gentle curves.
- Bundle then secure: use Velcro or zip ties to tame extra length before mounting cable clips so runs stay slim.
For power routing, keep outlet areas accessible, avoid tight bends at plugs, and steer clear of high-traffic floor zones. Make the system removable by choosing removable adhesive and leaving a few inches of slack near ports.
Example: mount a surge protector to the underside of your desk so only one drop goes to the wall, while smaller device wires are clipped along the desk apron for a tidy, safe setup.
Combine Clips With Other Cable Management Options for Better Results
If a cluster of adapters or a bulky surge protector creates the mess, hiding that hub first gives the biggest payoff. Clips alone can tidy runs, but boxes, sleeves, and raceways stop the visual bulk and improve safety.
Hide power strips and adapters with a cable box or inside furniture
Use a cable box to conceal a power strip and adapter bricks while routing exits neatly. A box reduces the most visible mess zone and keeps vents clear for safety.
For a DIY furniture fix, route cables through the back of a media cabinet or remove a drawer back to make a hidden compartment.
Upgrade the look with covers, raceways, and paint-to-match finishes
Raceways and covers create a straight line along walls that looks cleaner than loose wires. Choose paint-to-match finishes or metal-toned covers for visible areas, like brass for sconces, to blend with your hardware.
Room-specific ways and quick camouflage ideas
- Desk: use a sleeve for main bundles and cable clips under the surface to keep ports accessible.
- Media cabinet/nightstand: add adhesive wire clips behind legs and consider an outlet extender with USB ports.
- Quick fixes: run a cord under a rug and secure with electrical tape, or make a small hole near the edge for a cleaner path.
Decor can be functional: a plant or basket hides a power strip while allowing airflow. Swap to rechargeable peripherals where possible to cut the number of cords in your space.
Example: clips along a furniture leg + a paint-matched raceway on the wall + a cable box below creates a cleaner look without drilling.
Conclusion
Finish strong by using a simple repeatable routine that keeps wires neat whenever you add a device. Plan the path, reduce slack, bundle with Velcro ties, then secure so cable runs stay out of sight. This workflow is the core of good cables management and gives you a reliable solution each time.
Remember that this is ongoing. Small changes—new gadgets or furniture—are easier when routing is modular and removable. Prioritize safety by keeping wires out of walkways, avoiding tension at outlets, and keeping surge protectors accessible.
Pick a 15-minute win: hide the power strip hub, secure one visible wall run, or bundle the worst cords behind a desk. Quick maintenance tips: re-tighten ties, replace failing adhesive, and revisit cord length when you upgrade. The result is a cleaner space that’s easier to clean and maintain without a big time investment.