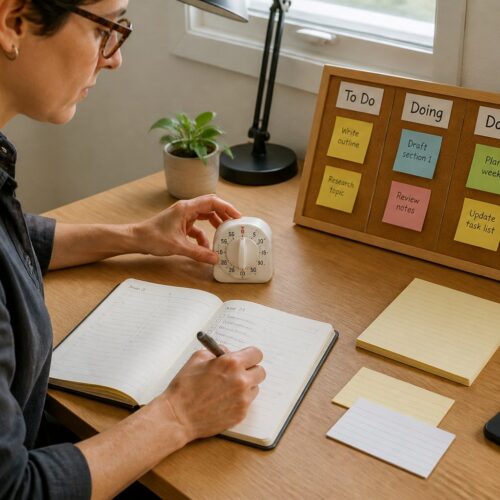
Elevating your screen can free desk area and help reduce neck strain. This guide shows simple steps to lift a monitor so you keep a neutral posture. You will learn small changes that make long days more comfortable.
Incorrect placement can cause eyestrain, neck pain, and slumped posture. A neutral view avoids tilting the chin or bending your body. Good ergonomics links a tidy workspace to fewer aches by the end of the day.
The article gives an adjustable, step-by-step approach. It previews the main knobs: height, viewing distance, and angle. You will also see three tools—monitor arm, desktop riser, and desk converter—that reclaim space without hurting alignment.
Quick rule: if your setup forces a chin tilt or a twist, adjust the monitor now. Small fixes often lead to big gains in comfort across neck, shoulders, and eyes.
Why monitor height matters for your neck, eyes, and productivity
The height of a monitor directly affects neck load and long-term comfort at a desk. A too-high display makes you lift the chin; a too-low monitor makes you drop the head. Both positions increase neck strain over time and raise the risk of shoulder tightness and headaches.
Neck tension spreads to the shoulders because muscles work harder when the head drifts from a neutral posture. That sustained muscle loading also links to eye strain and end-of-day stiffness. Ergonomic studies show simple workstation changes reduce musculoskeletal pain and muscle activity.
Neutral posture is easy to test: shoulders relaxed, back supported, feet flat, knees near 90°, and head stacked over the torso. When the monitor lines up with that stance, you avoid constant adjustments that break focus and reduce productivity.
Watch for warning signs like dry eyes, tight traps, or frequent rubbing of the neck. Treat those as cues to adjust desk height, chair position, and keyboard reach so the monitor works with the rest of your setup—not against it.

- Monitor placement affects neck, posture, and work time.
- Proper alignment lowers discomfort and boosts productivity.
- Small adjustments can reduce long-term risk and issues.
Set your screen height around eye level for a relaxed viewing angle
Positioning the display at the right level keeps eye movements natural and the neck relaxed. Start seated upright with feet flat and shoulders relaxed. Adjust the monitor height so the top edge sits at or slightly below eye level to keep the neck long and loose.
Where should your eyes land? Aim for the top third of the display so your eyes move more than your head. This helps maintain good posture during long tasks.

Where your eyes should land on the screen for good posture
Check quickly: when you look at the display, your eyes should naturally rest near the browser address bar, not the toolbar above it. If you lift the chin to read, lower the height. If you drop the head, raise it.
Using the eye-level to 30° downward guideline to protect your neck
The practical rule: the screen can sit from eye level down to about 30° below your line of sight. You do not need tools—just a comfortable downward gaze. Validate good posture when your shoulders stay down, your jaw unclenches, and your head does not drift forward.
- Top of the display at or slightly below eye level.
- Gaze targets the top third of the monitor for sustained viewing.
- Adjust in small steps and test over a few days to find the best height.
Dial in viewing distance so you don’t lean in or squint
A proper gap between you and the monitor keeps posture steady and vision clear. Start with a simple check and refine from there to avoid eye strain and awkward reach.
Quick repeatable test:
- Sit back and extend one arm. Place the fingertips so they just touch the screen.
- Adjust the monitor until that touch feels natural, then fine-tune within the 20–30 inch (50–76 cm) range.
How distance affects posture and vision
Sitting too close raises focusing demand and can cause eye strain. Too far away makes you lean forward and squint, which harms posture.
Arm position and upper-body load
If the monitor is off, you may overreach for the mouse or tuck elbows tightly. That creates shoulder tension and extra strain during long computer sessions.
Adjust for screen size and resolution
Larger screens often need a bit more distance so the whole screen stays in view. Higher resolution lets you sit back while keeping text sharp.
- If desk depth prevents the right distance, use a monitor arm or wall mount to reclaim space.
- Increase text size before moving the monitor closer—this keeps ergonomics intact while improving readability.
Adjust tilt and angle to reduce strain and glare
A subtle backward tilt helps align the display with natural eye movement. Set height and distance first, then fine-tune tilt so the viewing experience feels effortless.
Setting a comfortable tilt in the 10–20° backward range
Aim for about a 10–20° backward tilt. This angle matches a gentle downward gaze and cuts the need to crane the neck.
Quick angle check: eyes should naturally rest near the browser address bar
Look at the display. If your eyes drift to the top toolbar, lower the height or increase the tilt slightly. Your eyes should rest close to the address bar without effort.
Reduce glare and position the monitor at about 90° to windows
To limit glare, rotate the unit so it sits roughly 90° to windows. Use tilt to remove reflections from overhead lights. Close blinds or shift the desk if daylight shifts cause stray reflections.
When to place the screen slightly below eye level for bifocals
If you wear bifocals or progressive lenses, set the display slightly below eye level. That placement lets you look through the correct lens zone without tilting the head back, reducing neck strain and eye strain.
- Fine-tune tilt after height and distance are set.
- Use a 10–20° backward angle for natural viewing.
- Position at 90° to windows and adjust tilt to cut glare.
- Lower the display slightly if you use progressive lenses.
Note: The best setup reduces real-time strain signals—less squinting, fewer micro head moves, and fewer headaches by day’s end.
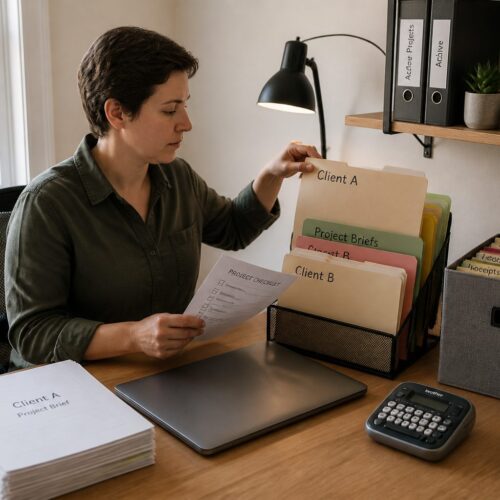
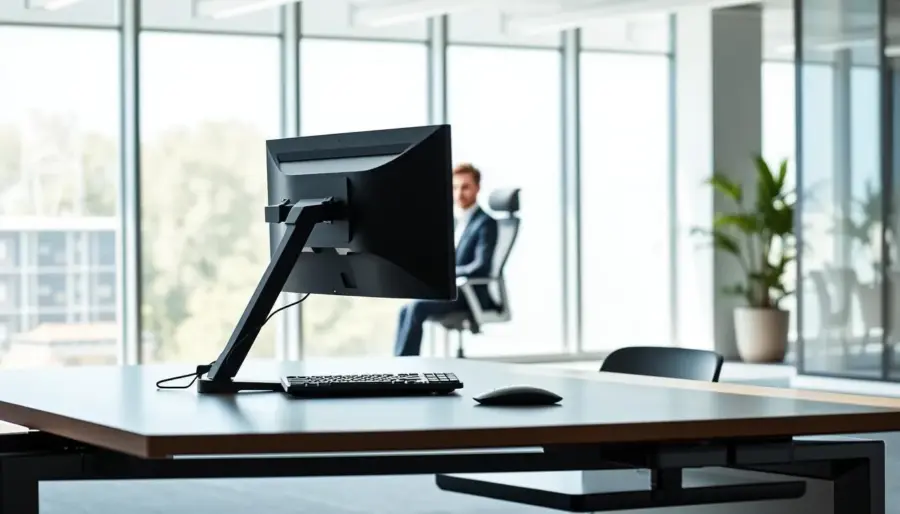
Elevating your screen without sacrificing desk space
A higher display opens storage space under the screen and supports better neck alignment. Lifting the monitor frees the desktop and gives room for a keyboard, notebooks, or docking gear. Set the main position first so the rest of the setup orbits the display.
When a monitor arm is the most flexible choice
Use an arm when you need fast changes in height, distance, and rotation. A good arm frees desk area and makes sharing or switching tasks simple.
Choosing a stand or desktop riser for simple elevation
A riser lifts the screen and creates under-monitor storage. This is an easy upgrade for compact workspaces that need a tidy desk and basic height correction.
Using a desk converter for sit‑stand workflows
A converter keeps the monitor at eye level whether you sit or stand. It prevents a compromise where one position is right and the other forces bad posture.
Practical placement tips
- Center the monitor with the keyboard and chair to avoid twisting.
- Re-check distance after raising the display so you don’t lean forward.
- Set the primary screen first, then arrange accessories around that anchor.
Fine-tune your setup for dual monitors and multi-screen work
Using two displays can boost productivity, but only when you set them to cut head turns and keep posture steady. Start by deciding whether you use both monitors equally or have a clear primary screen. That choice guides placement and angle so you avoid sustained neck rotation.
How to position two monitors when you use them equally
Place both monitors so they form one wide workspace centered in front of you. Keep the chair, keyboard, and mouse aligned with the midpoint between the displays.
Sit an arm’s length away and run the arm-length test after setup to confirm the viewing distance feels natural.
How to angle a secondary screen toward your dominant eye when one monitor is primary
Center the primary monitor directly ahead. Then angle the secondary slightly toward your dominant eye so quick glances do not require turning the torso.
Keeping inside edges close and matching height and viewing distance for smoother scanning
Bring the inside edges close to shrink the gap your eyes cross when switching windows. Match height and viewing distance across both monitors to keep gaze shifts small.
- Reduce neck load: avoid large rotations during frequent switching.
- Re-check distance and angle after any change; small tweaks improve comfort.
- If the neck still feels worked, angle screens inward and move the secondary closer until movement decreases.
Reduce eye strain with lighting, glare control, and readable text
Bright reflections and poor contrast can tire the eyes long before posture becomes an issue. Fixing light and readability protects vision and keeps you from leaning or squinting. Small fixes cut headaches and long-term discomfort.
Preventing glare by placing the monitor at a 90° angle to windows and managing light sources
Place the monitor roughly 90° to windows and use blinds or shades when daylight shifts. Move or tilt lamps so they do not reflect on the display.
Fast diagnostic: turn the screen off and look at the dark surface. If you see bright reflections, add curtains, change lamp position, or adjust tilt.
Matching brightness to your environment and using contrast/resolution to support comfort
Match display brightness to the room behind the monitor so eyes don’t constantly adapt to extreme contrast. Lowering strong backlight or raising screen brightness slightly reduces fatigue.
Also: improve contrast and choose the resolution that keeps text sharp at a natural viewing distance. Good contrast reduces squinting and posture shifts.
Why increasing font size beats moving the monitor closer
Instead of pulling the monitor closer, increase font size and scaling. Moving the display ruins distance and adds neck load over time.
A simple rule: set text about three times larger than the smallest you can read. That keeps distance healthy and preserves clear viewing for long sessions.
- Lighting affects comfort even with correct height and distance.
- Anti-glare setup: 90° to windows, control overhead lights, use shades.
- Check reflections with the screen off and adjust brightness to match the room.
- Increase font size and contrast before changing distance to prevent strain.
Conclusion
Follow an ordered routine—set height, confirm viewing distance, then tweak tilt and lighting.
First, raise the monitor so the top sits at or just below eye level. Next, check that the distance is about an arm’s length. Finally, apply a gentle 10–20° backward tilt and fix glare.
When these steps are in place, the neck stays neutral and you avoid constant chin lifts or drops. For dual displays, match height and distance so both feel equally usable.
Remember the anchors: 20–30 inches away, 10–20° tilt, and view from eye level to about 30° down. Make one change at a time, work for a few hours, then reassess comfort. Good ergonomics reduces distractions and helps you stay focused longer.