You use a printer a lot in your home office, but it can make a small room feel cluttered. This guide defines Hidden printer solutions for tight spaces, showing how to integrate a device so your office has an intentional, calm look.
Which option is best depends on how often you print, how much space you have, and whether you want the unit within reach or fully concealed. Expect practical advice to help you choose one approach you can implement without redesigning the whole room.
Printers often collect cords, paper piles, and spare cartridges, which increases visual noise in a compact space. You’ll get clear previews of common fits—desk, bookshelf, rolling cart, wall shelf, cabinets, and DIY covers—so you can spot what matches your workflow.
Focus on usability: easy paper loading, visible buttons, and safe airflow keep the device functional while it stays tucked away. This is a step-by-step, practical how-to to make your small office feel neat and stay efficient.
Assess Your Printer and Your Space Before You Hide Anything
Don’t assume a device will fit; verify width, depth, and height against the furniture interior. Accurate measurements are the first step to a tidy, functional home office setup.

Measure for real-world fit
Measure your printer’s width, depth, and height and compare those numbers to the cabinet or shelf opening. Use interior dimensions, not the exterior listing—an armoire interior (33.1″H x 30.2″W x 19.7″D) or a secretary desk interior (19.55″H x 26.54″W x 18.98″D) give better guidance.
Decide how often you use it
Think about how much time you spend printing. If you need quick, daily access, choose a spot that keeps the device reachable. For occasional use, a deeper cabinet can work if it fits printer dimensions comfortably.
Plan paper flow, controls, and cords
Make sure there’s clearance for the paper path and ventilation so pages don’t jam. Leave room to reach front buttons and status lights without pulling the unit out every time.
- Measure first: width, depth, height vs. interior space.
- Clearance matters: paper exit, vents, and a bit of breathing room.
- Power and cords: map where a power strip will live out of sight.
- Workflow: decide the grab-and-go access you need by frequency and time used.
Hidden printer solutions That Keep Your Home Office Looking Clean
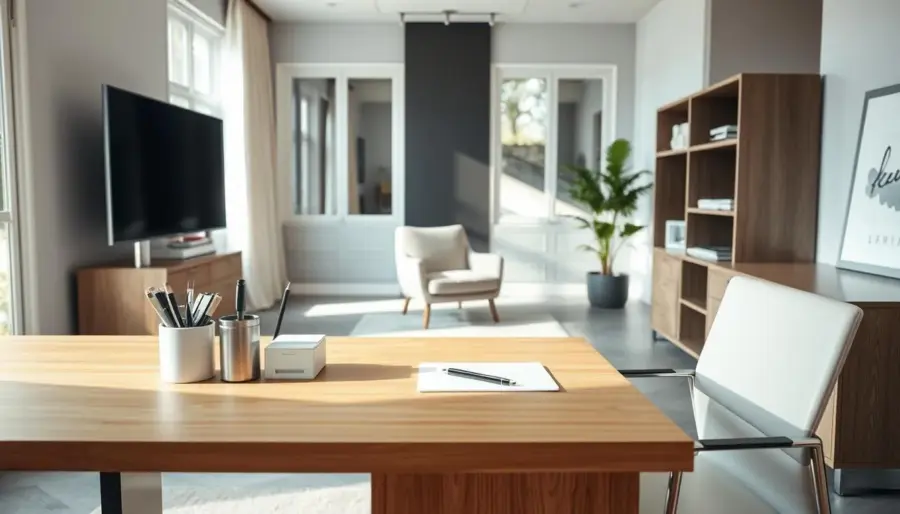
A compact, well-organized printing nook prevents a single device from dominating the room’s look. Keep visible surfaces sparse, tuck cords away, and assign one spot for printing gear to keep the home office calm.

What a clean look means: fewer items on surfaces, tidy cable routing, and a single container for paper and supplies. When you limit what’s visible, the office reads as intentional rather than cluttered.
A simple decision framework
- Print daily? Choose an option that keeps the device within reach for fast access.
- Rarely print? Pick a tucked-away way that frees desk and floor space.
- Storage matters: add bins for paper and cartridges so a concealed spot doesn’t become messy.
Build a dedicated zone: store paper, ink, labels, and tools together so you avoid spreading supplies across the room. Use minimal decor—one plant or framed print—to make the area feel planned.
Next, you’ll get specific options: under-desk mounts, bookshelf fits, carts, wall shelves, and cabinets so you can match the right option to your space and workflow.
Hide Your Printer Under Your Desk Without Losing Legroom
An under-desk shelf keeps printing handy and preserves the open feel of a small office. Use this approach when you want the device close but off your work surface.
Under-desk shelf or add-on option
Measure legroom and set a target height so your knees stay comfortable and paper can feed and exit. A floating shelf (about 15.7″ x 5.9″ x 1.5″) can hold up to 22 lb and works well in tight spots.
Choose a built-in shelf if you want a seamless look, or add a sturdy under-desk shelf for an easy retrofit.
Desk with a hutch and cable management
A desk with a hutch gives extra storage for paper and supplies without taking floor space. Keep the front panel accessible so you don’t crawl under the desk to press buttons or grab prints.
- Route cords along the desk frame and secure them with clips.
- Position the unit so the control panel faces forward.
- This setup works best if you print often and want the device in your main work triangle.
Blend the Printer Into a Bookshelf or Bookcase Display
Turn a bookcase into a functional display that quietly houses your printer without drawing attention. With a few styling moves you keep the unit accessible while the shelf reads as intentional decor.
Color-match and camouflage
Match a black printer with dark book covers or pair a white device with a white wall or white bookshelf and light covers. Coordinating cover tones with the shelf finish helps the unit recede into the background.
Soften edges with plants and decor
Place small plants and one or two accessories in front or beside the device to soften lines and add texture. Use minimal decor so the display stays tidy and the print path remains clear.
Keep cords and supplies invisible
- Route cords behind the case using clips so cables don’t break the illusion.
- Leave the front area clear for paper loading and output to keep access easy.
- Store paper and ink nearby in a bin or drawer so the shelf looks curated, not cluttered.
Use a Rolling File Cabinet or Printer Cart for Flexible Storage
A rolling file cabinet can free up desk space and bring your printer right where you need it during busy days.
Pick this option if your printing load changes. Wheel the unit close while you work, then roll it back to reclaim the room. A mobile file cart gives you a practical way to balance access and order.
Look for a cabinet with a deep cubby for smaller devices and a flat top for larger ones. For example, a cubby around 15.5″L x 12.25″W x 9.9″H or an overall box near 16.4″L x 14.25″W x 13.8″H shows real-world fit.
- Flexible workflow: roll the unit close during heavy jobs, then park it in a corner.
- Fit and placement: use a flat top for big models or an inner cubby for compact types.
- Intentional station: add wire baskets for paper, labels, and cords to keep the cabinet tidy.
- Cable strategy: leave a short, grounded extension and secure wire to the cart so you don’t unplug when moving it.
When not in use, tuck the cart beside a cabinet run or slide it into a corner. This keeps your home office open while the device stays fully functional and organized.
Mount It on a Wall Shelf to Save Floor Space
Using a wall shelf makes the device part of the wall, not the floor, which opens up a small room. This approach gives you a dedicated spot that keeps the area tidy and practical.
Place the shelf at a comfortable height and add nearby storage for paper and supplies
Choose a height that lets you load paper and collect pages without bending. Aim for a reach that feels natural when you stand or sit at your desk.
Add a small bin or drawer beneath or beside the shelf for ink and extra paper. This keeps all your supplies handy while the surface stays uncluttered.
Use multiple shelves to combine storage with decor in a small room
Stack one shelf for the device and another for baskets, decor, or paper storage. A layered layout helps the unit blend into the room instead of standing out.
- When to choose a wall shelf: floor space is tight and you want a dedicated spot without extra furniture.
- Stability: mount to studs or use heavy-duty anchors so the shelf holds the weight and vibration safely.
- Cord management: route power and data along the wall with clips or a raceway to preserve a clean look in your home office.
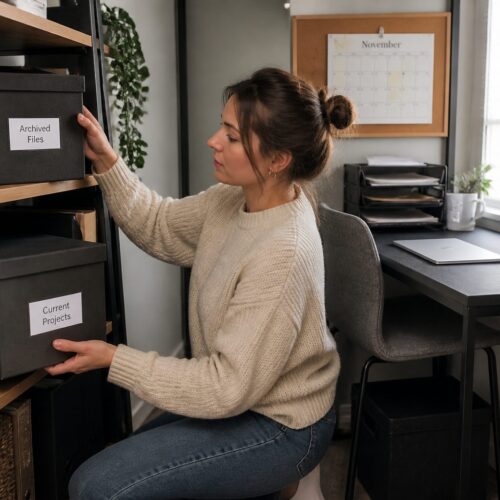
Store It Inside Cabinets, Armoires, or a Secretary Desk for a Fully Hidden Look
A storage cabinet transforms printing gear into an integrated piece of furniture that blends with the room. Choose cabinets when you want everything out of sight—close the doors and paper, cords, and accessories disappear.
Consider an armoire or a secretary desk when you want furniture that does double duty. An armoire example (67.3″H x 31.5″W x 20.3″D; interior 33.1″H x 30.2″W x 19.7″D) or a secretary desk (interior 19.55″H x 26.54″W x 18.98″D) shows how size matters for fit.
An ottoman cabinet is a smart option if you only need the device occasionally. Many ottomans offer shallow interiors (for example 33″L x 13.6″W x 9.4″H) that suit compact models and keep your home office tidy when the device is idle.
- Organization: cabinets consolidate paper, ink, and tools so home offices stay uncluttered.
- Measure first: verify interior height and depth against your device size before you buy.
- Plan power & airflow: add a vent or leave gaps for heat and a cable route so hiding doesn’t hinder use.
DIY and Quick-Cover Options When Furniture Isn’t an Option
A few smart diy steps help you hide a device while keeping it ready to use. These quick fixes work when you can’t add furniture but still want a tidy desk or room.
Vinyl top-and-side cover
For a fast decor match, cover the top and sides with vinyl. First, make copy-paper templates of the unit to map shapes around buttons and the paper خروج exit.
Transfer templates to vinyl, then cut openings carefully using a hobby knife so controls and paper paths stay clear.
Custom dust cover and no-build fronts
Make a tailored dust cover from fabric for a neat look when the device is idle. Pick a pattern that matches your decor and sew hems for a clean fit.
Or convert a drawer face with hinges or add a fabric curtain or shelf skirt to hide the front without heavy work.
Pull-out shelf and tuck-away storage
Install drawer-glide hardware to create a pull-out shelf inside a cabinet, hutch, or desk so the unit slides forward only when you need it.
If you rarely print, put the device in a deep drawer or closet. Use a drawer with roomy dimensions (for example 19.6″H x 30.4″W x 28.4″D) to ensure fit and airflow.
- Quick wins: vinyl cover top/sides for fast decor matching.
- Precision cuts: copy-paper templates, then cut shapes with a hobby knife.
- Flexible access: pull-out shelf or hinged drawer face keeps usability intact.
Conclusion
Balance access and appearance so your office stays useful and uncluttered.
Pick an option that fits how often you print and how much time you want to spend moving or uncovering the device. Within-reach ways—under-desk shelves, a rolling cart, or a wall shelf—work when you need quick access.
For a fully concealed route, choose furniture like a cabinet, armoire, or secretary desk. Measure interior height and size first; clearance and airflow are non-negotiable.
Include nearby storage for paper and supplies so the area keeps a tidy look. As a next step, pick one method, set up cord routing, and run a few test prints to confirm paper flow before you finalize placement.